
Hotel Xenia WP Documentation
Complete product documentation for Hotel Xenia WP
Using Documentation
WordPress is a very useful tool for creating and delivering content to your
audience. To make the best out of our theme, you are advised to carefully read this
Documentation as it describes and explains all the available options.
For most compliance, when it comes to Theme Options, we are following the same
structure with the one you ‘ll nd in your installation. Inline references also exist to
help you nd the way through relatedsettings.
USING DOCUMENTATION
Theme Installation and Setup
Under most circumstances, installing WordPress is a very simple process and
takes less than ve minutes to be completed. Many web hosts (e.g. Siteground
(https://www.siteground.com/go/plewphosting)) are now offering tools for
automatic installation. However, if you wish to install WordPress by yourself, read
about the Famous 5 Minutes Installation
(http://codex.wordpress.org/Installing_WordPress#Famous_5-Minute_Install).
Below you can nd some links about WordPress Installation
INSTALLING WORDPRESS
Common WordPress Installation Issues
(https://help.market.envato.com/hc/en-us/articles/202821510)
Things to Know Before You Begin Installing WordPress
(http://codex.wordpress.org/Installing_WordPress#Things_to_Know_Before_Installin
Detailed Instructions
(http://codex.wordpress.org/Installing_WordPress#Detailed_Instructions)
Common Installation Problems
(http://codex.wordpress.org/Installing_WordPress#Common_Installation_Problems)
WordPress in Your Language
(http://codex.wordpress.org/WordPress_in_Your_Language)
Installing Multiple Blogs
(http://codex.wordpress.org/Installing_WordPress#Installing_Multiple_Blogs)
How to Install on your own Computer
(http://codex.wordpress.org/Installing_WordPress#Installing_WordPress_on_your_ow
Easy 5 Minutes WordPress Installation on Windows
(http://codex.wordpress.org/Installing_WordPress#Easy_5_Minute_WordPress_Insta
Getting Started with WordPress
(http://codex.wordpress.org/Getting_Started_with_WordPress)
If for some reason you had problems installing the theme through wordpress then
you can check out the following method:
Download theme from ThemeForest and unzip the main zip le
Locate theme_name.zip and extract/unzip its contents
Use an FTP client (for example FileZilla (https://lezilla-project.org/)) to access
your host web server
Transfer your unzipped theme folder to your server in the wp-content/themes/
directory.
Once uploaded, go to Appearance > Themes and activate your theme.
If you consider installing the child theme ( which is strongly recommended ),
then repeat the FTP procedure for theme_name-child.zip le and activate this
instead.
INSTALLATION THROUGH FTP
replace theme_name with the original name of the theme you
purchased
The following plugins are bits of software that extend the functionality of the
theme and are included in the theme package. When you install the theme, you will
get a notication message in your WordPress admin informing you about the
required and recommended plugins. You have to install them. For those who are
not familiar with plugin management, please check WordPress Codex > Managing
Plugins reference (http://codex.wordpress.org/Managing_Plugins)
Plethora Features Library (mandatory). This is Plethora’s theme framework
plugin that includes all shortcodes, widjets, custom post types and extra design
settings, make sure that is always installed.
Visual Composer (mandatory). Allows you to edit your content using an
enhanced page builder. Make sure, you are using the version included in the
package, as it is congured to work seamlessly with the theme. Please, note
that we do not offer compliance with any licensed version of Visual Composer
plugin other than the one included in themePackage.
Contact Form 7 (recommended). Manages multiple contact forms. You can also
customize the form and the mail contents exibly with simple markup. Install
and activate Contact Form 7 before importing content! Plethora Theme design
is compatible with any form created using Contact Form 7.Note that for core
functionality issues (non related to design), you should refer to the plugin
documentation (http://contactform7.com/docs/) or contact the author directly
(http://wordpress.org/plugins/contact-form-7/).
PLUGIN INSTALLATION
The themewill be regularly updated to keep up with WordPress updates. So if you
get notied about an update, follow the instructions :
Login into your Themeforest account, go to Dashboad > downloads and
download the theme into your computer
Install an FTP program if you already do not have one (Filezilla is free)
Retrieve your FTP login information from your hosting admin panel and login
into your hosting via FTP
UPDATE THEME
Unzip the item main le
Locatetheme_name.zip* and unzip it. Make sure your unzipping software does
not create an extra directory with the same name nested into each other.
Locate the themes’ main folder on your FTP program ( should be something like:
“YOUR_HOSTING_ROOT/YOUR_SUBDIRECTORY/wp-content/themes/” ) and drag
and drop the local version in it. FTP program will give a warning that there is
already a directory with the same name. Choose “replace all”.
It will take from 2 to 10 minutes to replace all les. When you nish, login into
your WordPress dashboard, go to Theme Options, and verify the new version.
Child theme doesn’t need to be updated unless you made no changes to it and
want the new cool screenshot.
On occasion, a TGM notice will appear on top of your administration page to
update the “Plethora Themes Features Library” plugin. Update it by clicking on
the notice and clicking “Update” and “Activate” under the “Plethora Features
Library” listing in the list that appears. Or, on the “Themes” page, click to view
Theme Details and in the popup window, click “Update Plugins” button on the
bottom.
*theme_name.zip is used as an example; in real case the .zip le
will be titled as the theme you purchased.
The rst and most important step to update your theme is to BACKUP your site and
Database. There are plenty of ways of doing that. You can start from here: WordPress
Backups (http://codex.wordpress.org/WordPress_Backups)
You can easily import Demo content using Plethora’s Demo Importer:
Go to Admin > Tools > Demo Importer
Click on the Demo you like (depending on your version there might be more than
one available).
Make sure you have installed all the plugins required. Otherwise the Go To Import
Panelbutton will not be active. If a plugin does not exist, a red colored title is used,
while an orange color will be used instead if a plugin is installed but has not been
USING DEMO IMPORTER
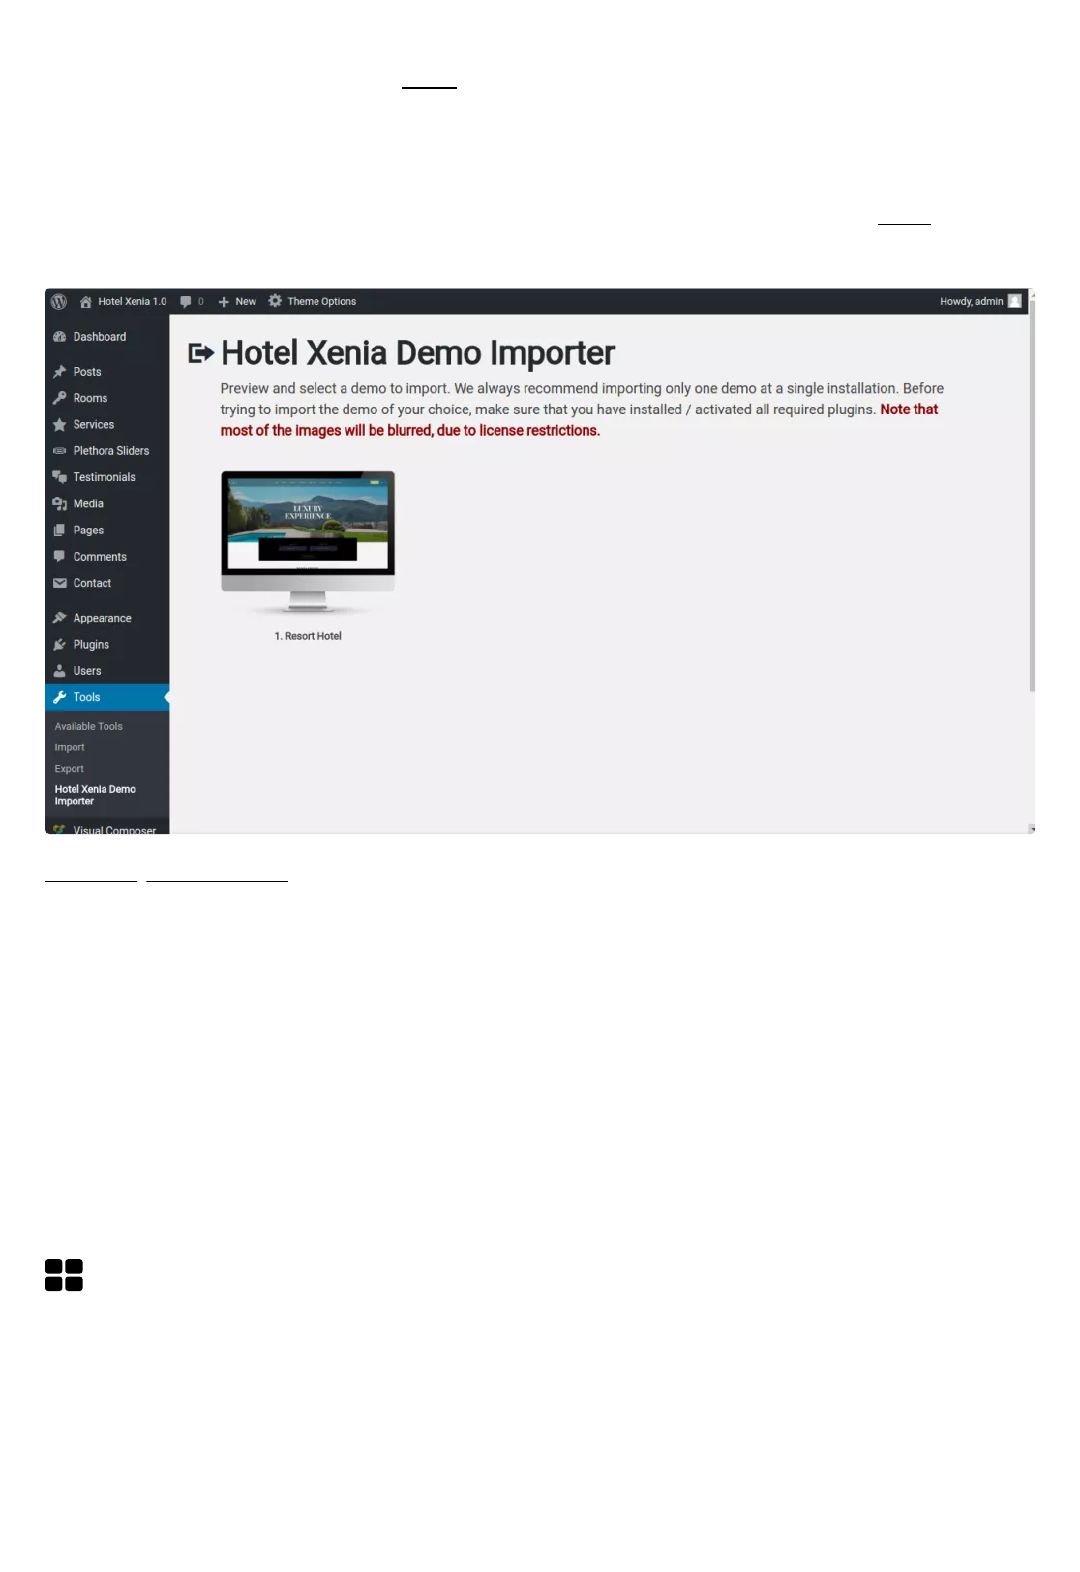
activated.
On the import panel screen, clickon Import Demo and relax while each item is
being imported. Import procedure might last several minutes, depending on the
demo selected.
When the Import Demo button turns green, the import is completed. Visit you site
to see the Demo.
Post Import Actions
To use the Visual Composer Page Builder on the Rooms and Serviceposts, go to
Dashboard > Visual Composer > Role Manager, and under Post Types select
Custom;make sure the roomand service option are checked. Click Save Changes.
To enable the Sidebar Menu, go to Dashboard > Appearance > Widgets and locate
the Mobile View Sidebar. On the Custom Menu box, from the drop-down list select
“Secondary Menu“. Save Widget.
General
GENERAL
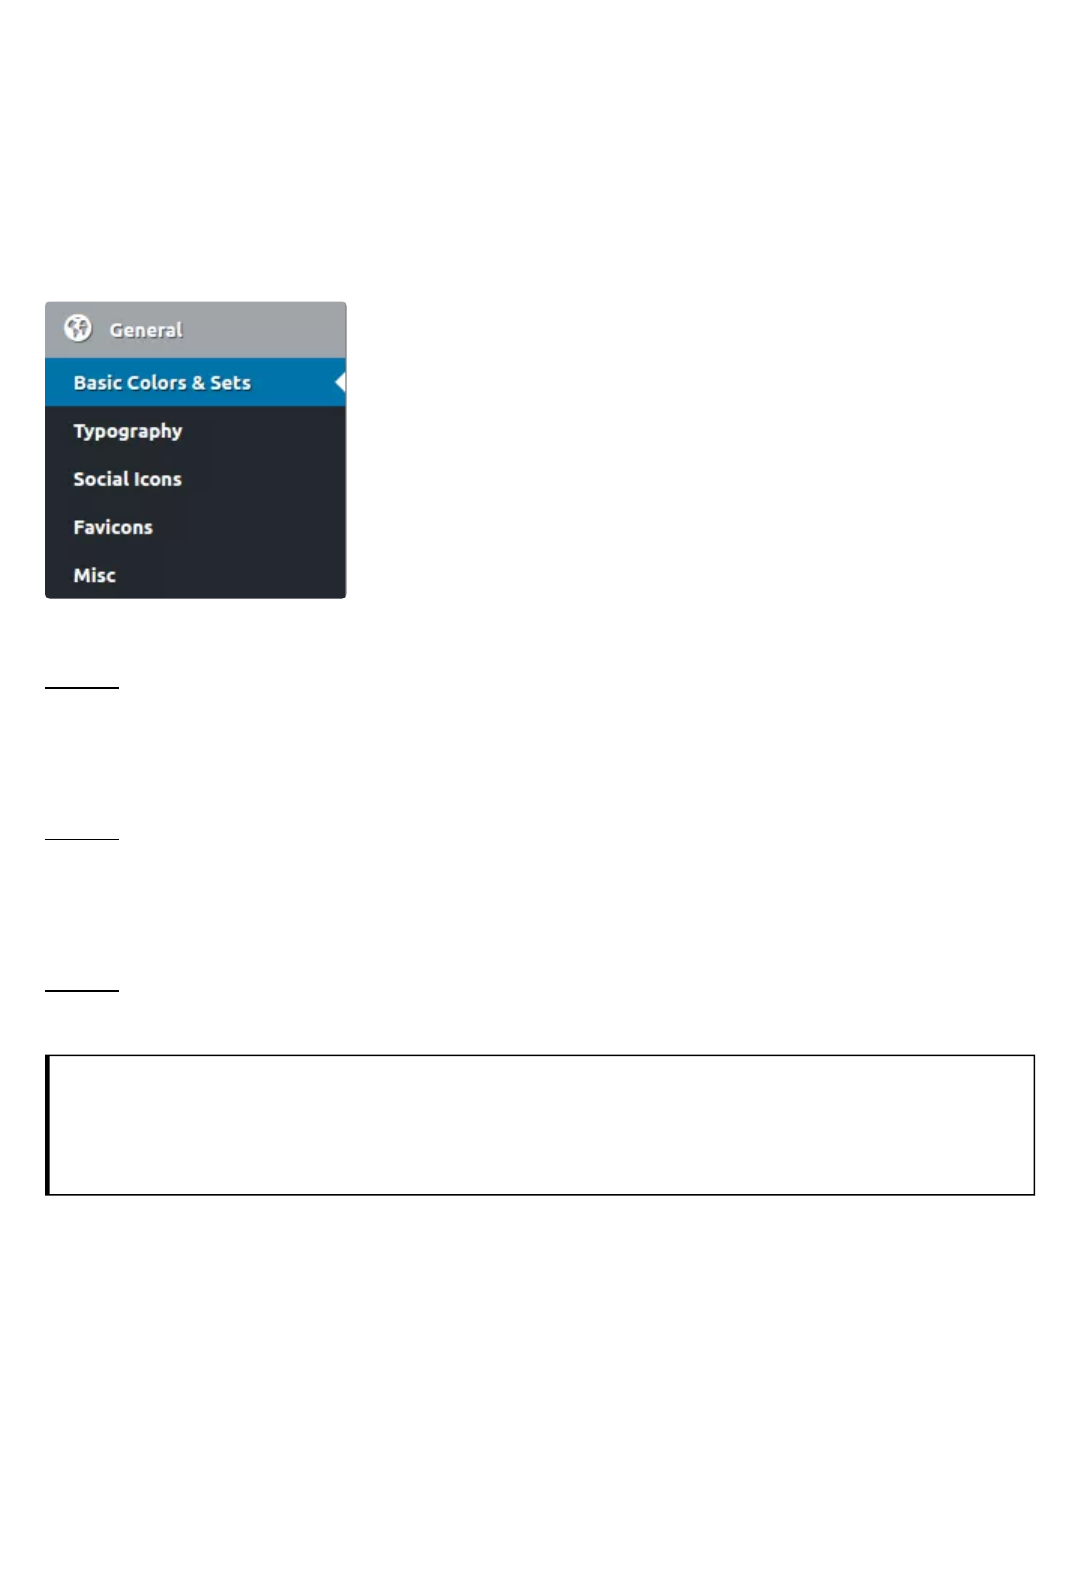
In this section you can nd General Options about the fundamental theme
elements; Basic Colors, Typography, Icons of your Social networking, Breadcrumb
indication and setting about Miscellaneous Elements like Back to Top, Container
Size, Transparency Level etc.
If you want to change the Basic Colors of the theme,
this is the place. With the following options you can
adjust the chromatic appearance of your website. You
can use any of the given combinations to a specic
page or post and even several of them to your page /
post section.
AVAILABLE OPTIONS
Basic Colors
Select the Color ofBody Background, Text, and Regular & Hovered Link Text, for the
Basic Colors of your website.
Primary & Secondary Color Set
Select the Color of Primary Brand, Text and Regular & Hovered Link Text, for
Primary and Secondary Color Set.
Light, Dark, White and Black Color Set
Select the Color of Background, Text and Regular & Hovered Link Text, for Light,
Dark, White and Black Color Set.
Next to each object there is a picker to help you select from a
variety of colors.
BASIC COLORS & COLOR SET OPTIONS
Onthistab,youcanselectthefontsandrelatedparametersofthetheme.There
areseveraloptionsheretoset.
AVAILABLE OPTIONS
TYPOGRAPHY
Select a Font Family and Fonts Subsets for Primary
(content)andSecondaryFont (heading, menus and
selectors).
Select a FontSize and Font Weight for Primary Font
(bodyandparagraph)
Select a Font Size for Secondary Font Size Base
(logo,menus,headings,andselectors).
HeadingTextTransformandHeadingsFontWeight:in thesetwooptions,you
can set the appearance of the Headings. Use the dropdown lists to select an
optionforTransformandprovideavalueforFontWeight.
Buttons Text Transform: set the default case for text appearing on Buttons.
SelectaTransformfromthedropdownlist.
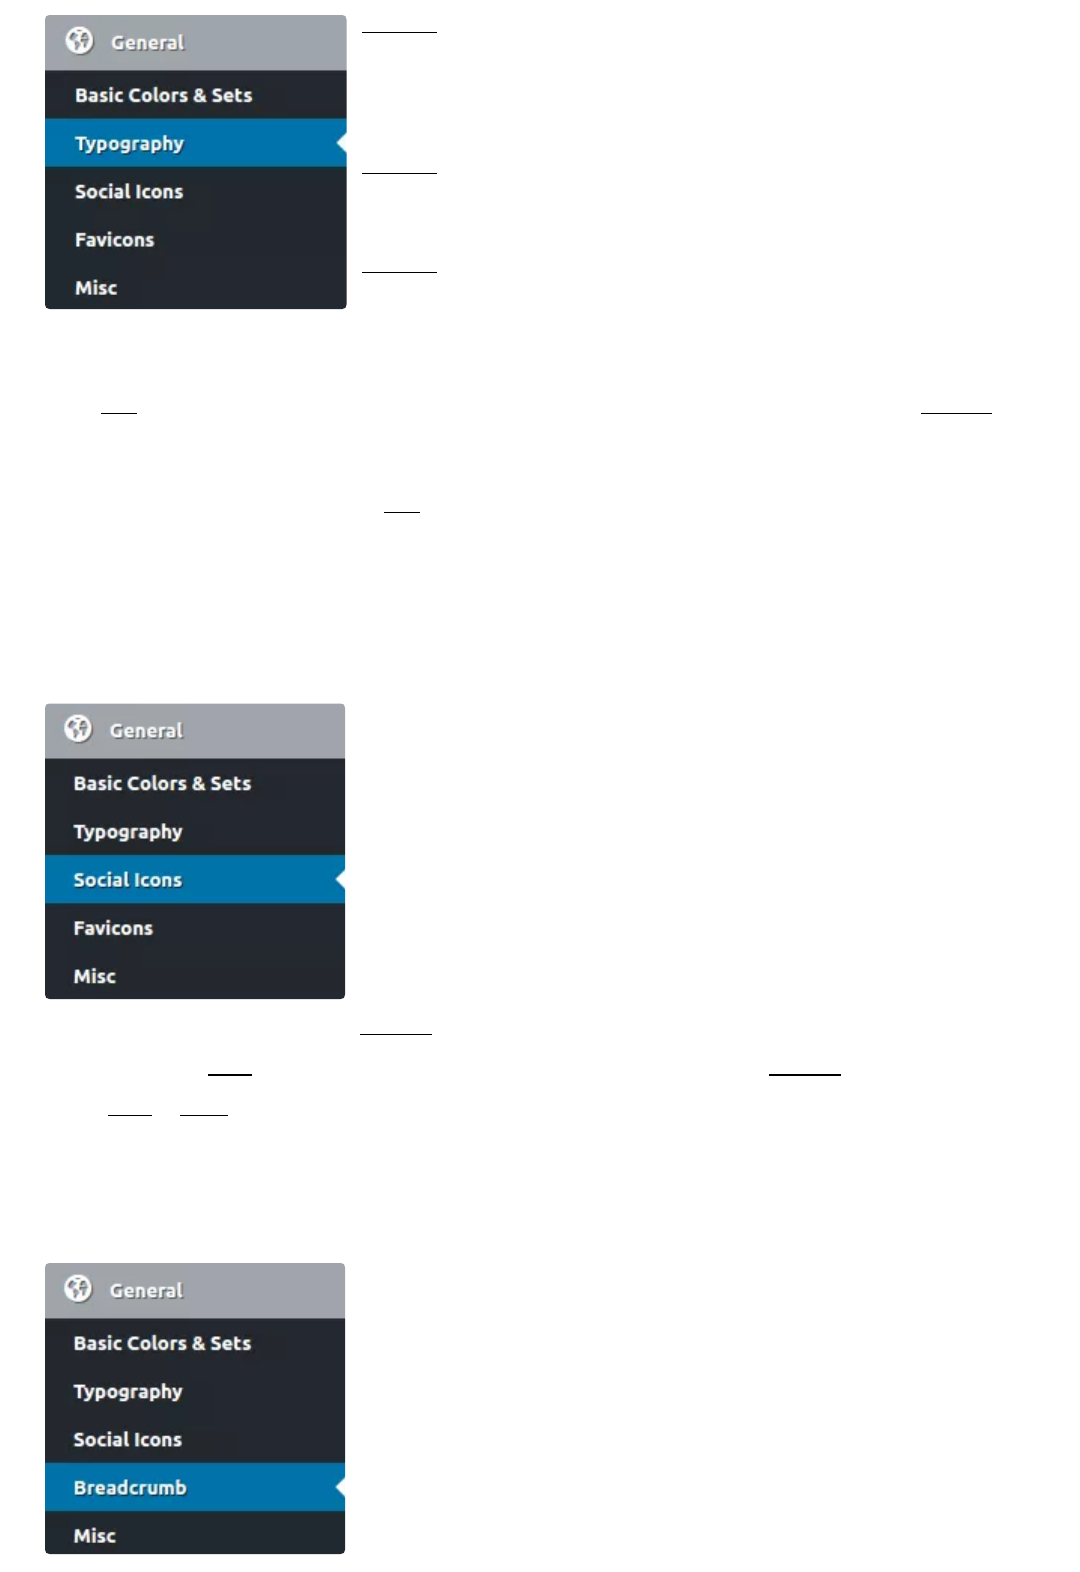
Integration with social networks has become a standard
in modern applications. On this tab, you can select the
appearance of Icons originated to direct users to your
social prole(s) and can be found in several locations on
the website.
AVAILABLE OPTIONS
For each Social Icon, there are three options; you can
select a Title, a particular Icon from several Icon
Libraries and add a URL link to your prole or page. You candelete a Social Icon or
evenadd a new one.
SOCIAL ICONS
Breadcrumbwill help your visitors know exactly in which
location they are and navigate easily through your
website. On this tab, you can set the global
congurationfor Breadcrumb.
AVAILABLE OPTIONS
BREADCRUMB
Select a Prex Text to be displayed before the Breadcrumb, a Home Page Anchor
Text for the home page link and a Separator for the links. To format text
usetheseHTML tags: span | i | em | strong | b.
Next, select if you want Current Page Link and Current Archive Page Text to
appear at Breadcrumb. If you choose to display Current Archive Page Text more
options will come up:
Current Page Text Pattern: customize the Text Pattern using %1$s to display
current page number and %2$s to display the total pages number. You can also
use these HTML tags to format text:span | i | em | strong | b
Current Page Extra Class: enter CSS class for current item to create custom
styling.
Breadcrumb Container Extra Class:entera CSS class here if you want to make a
reference for the Breadcrumb container for use in custom styling.
To display Breadcrumb on each content type go to Theme
Options > Content (http://plethorathemes.com/support-
center/hotel-xenia-wp/hotel-xenia-wp-documentation/#content)
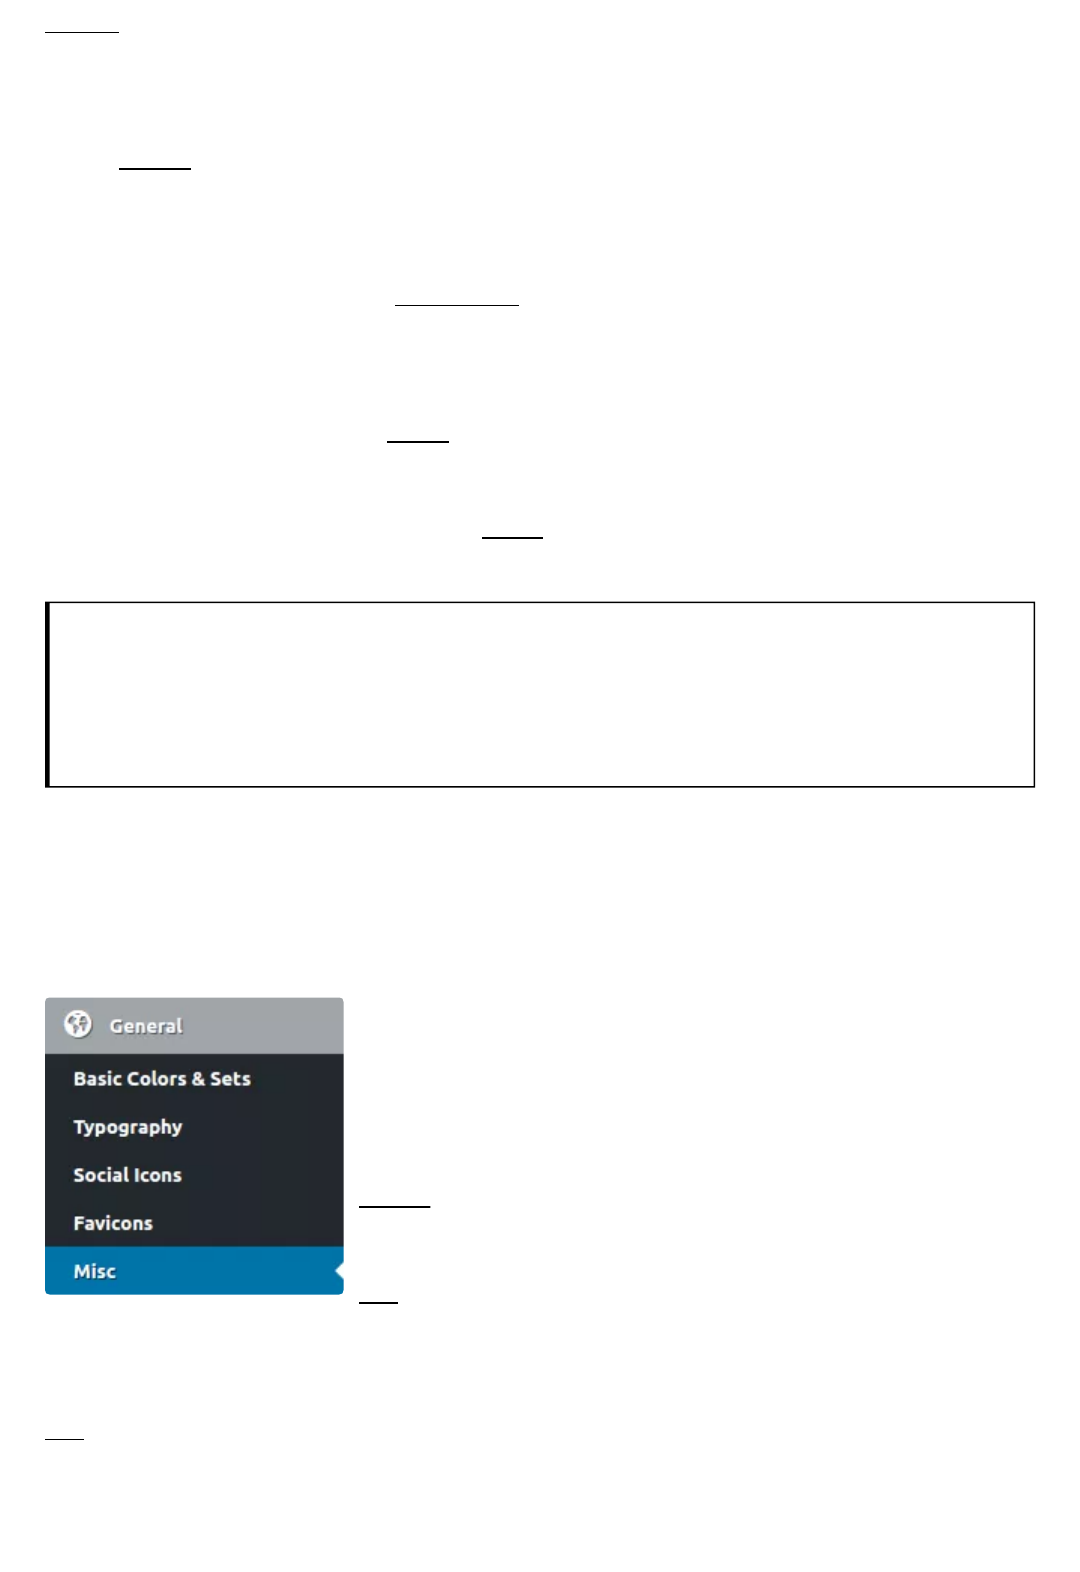
On this tab, you can congure the behavior and
appearance of some extra elements. These settings are
applied globally.
AVAILABLE OPTIONS
Select, if you want the Back to Top Functionality to be
enabled or not.
Set theMaximum Width of the Fluid Container or let it
expand to the full width of the screen (Auto). This setting will bevisible on large
monitors.
Set the Global Transparency Level for various elements of the theme. Select a
value from 0 (opaque) to 100 (fully transparent).
Page Loader Effect
MISCELLANEOUS ELEMENTS
Next, you can selectif you want the Page Loader to appear or not. If you choose to
appear, more options will come up:
Page Loader Logo Image: upload your own Logo while page loads. A transparent
.png le will provide better results
Page Loader Logo Image: use a custom rotating .gif le to appear, while page
loads.
Page Loader Background Color: select a color for the background, while page
loads.
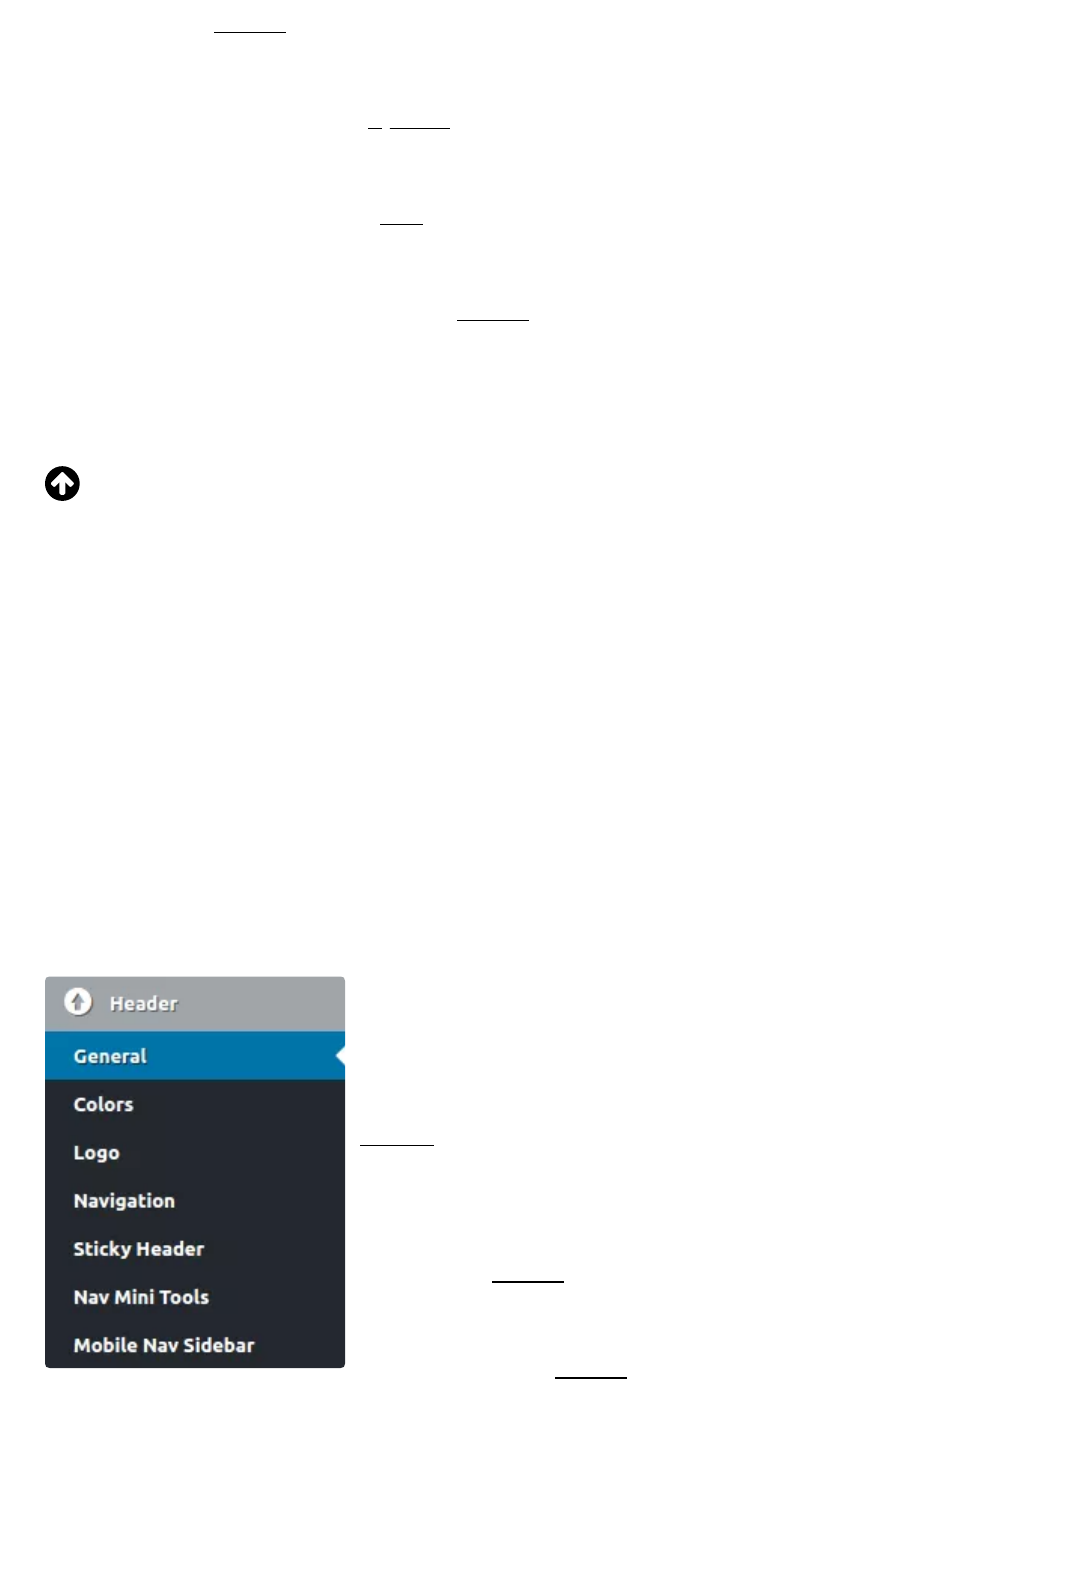
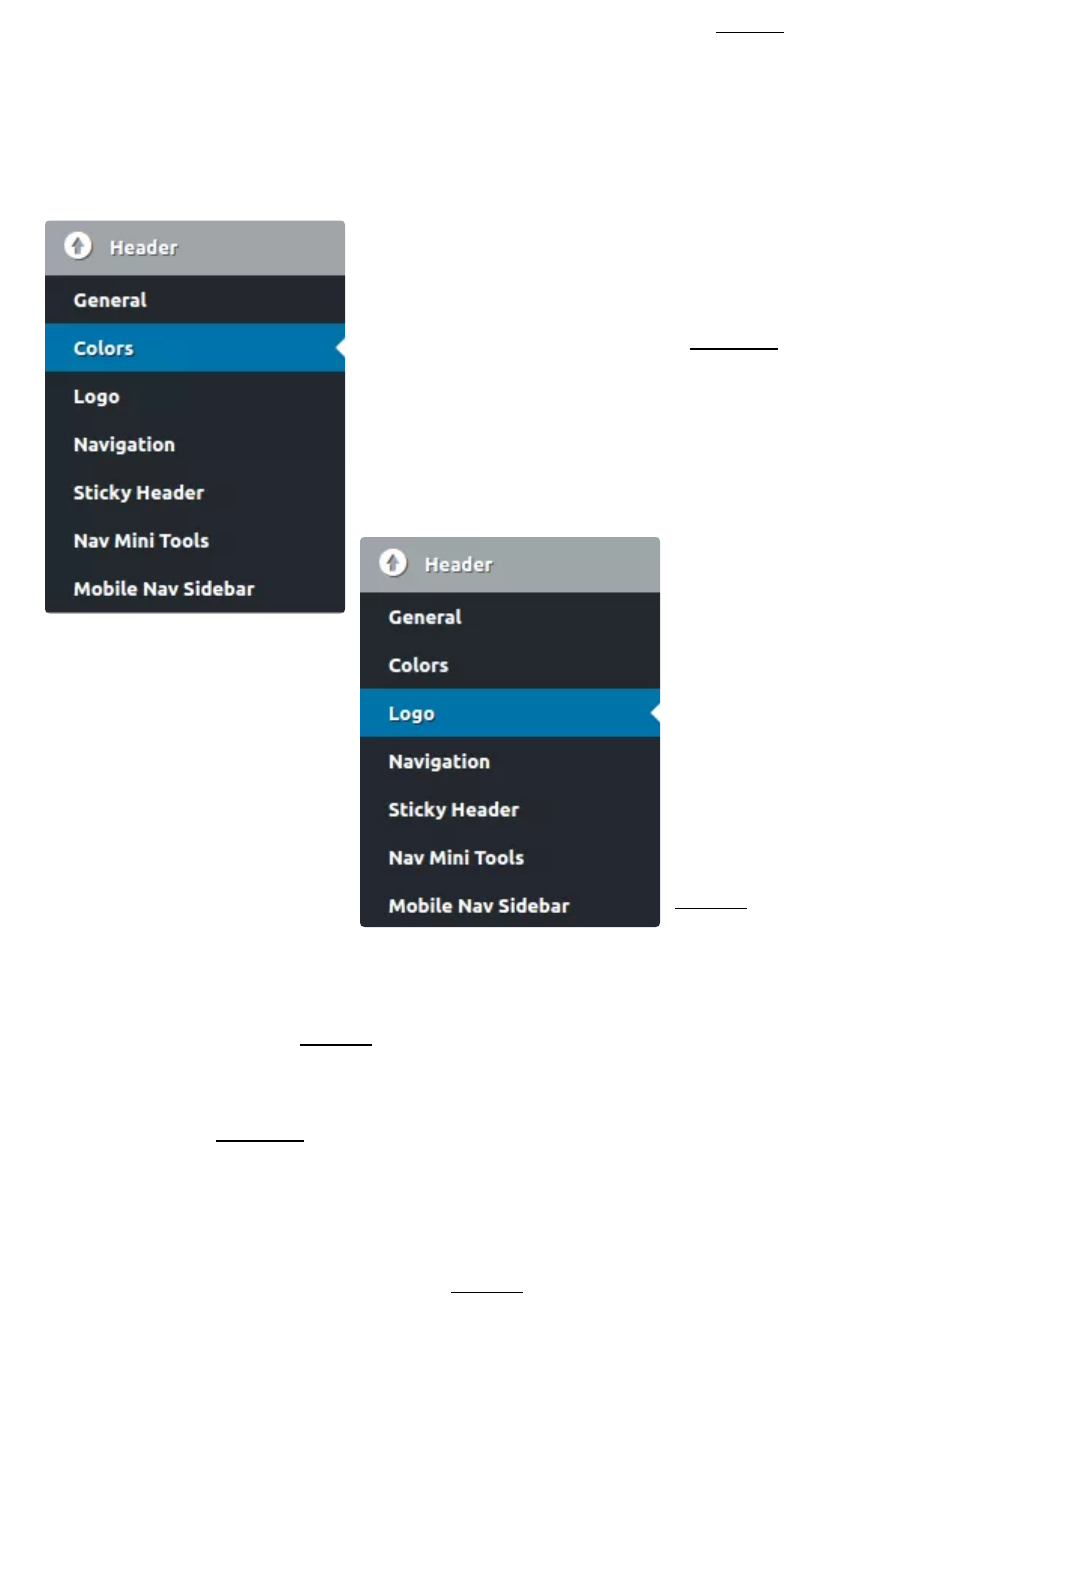
Header
In this section you can nd all availableHeader Options. Probably the most visible
part of your site as it always appears rst when someone loads a page. You can
customize the appearance & behavior of the Header, the Logo, the Menus, the
Mini Navigation Tools and the Mobile Navigation Sidebar.
HEADER
On this tab you can set the basic conguration of the
Header.
AVAILABLE OPTIONS
Select if you want the Container Type to be Default or
Fluid.
From a graphical representation of ve different
variations, select a Logo & Main Navigation Layout to
apply on your website globally.
Next, you can select if you want the Header to be
Transparent or not.
Transparency Opacity Level: using the dimmer, select a value between 0 and
100%.
HEADER GENERAL OPTIONS
Extra Classes: if you want a special style for the header, insert one or more classes
here, to handle inyour CSS code.
On this tab, you can set the Colors of the Header.
AVAILABLE OPTIONS
Using the chromatic picker, choosea Color for Header
Background, Text and Regular & Hovered Link.
HEADER COLOR SET OPTIONS
The Logo is important as it
illustrates your corporate
identity, on this tab, you can
adjust the behavior and
appearance of it, to make it
look as you like.
AVAILABLE OPTIONS
Using the graphical switch,
select if you want the Logo to
Appear or Hide from the
Header.
Logo layout: you can select if you want Image or Title to appear and even combine
the Subtitle with Image or Titlerespectively.
Next, you can choose an Image and upload it to your theme. You can even remove
the Logo if you like.
Logo Dimensions
In the next three options, you can select the Dimensions, the Spacing and the Title
Font of the Logo. There are available settings for: Maximum Image Size, Spacing
and Title Font Options of the Logo forlarge/medium, small and extra small devices,
HEADER SECTION // LOGO OPTIONS
HEADER SECTION // NAVIGATION MENU OPTIONS

It is very common to display a Menu on the header.
Onthis tab, you can adjust the appearance, the content
and the behavior of the Menu.
AVAILABLE OPTIONS
In the rst option, you can selectif you want the Main
Menu to appear in the header or not. If you select
Display, more options will come up:
Main Menu Location: select from the drop-down list. If
you clear the list by pressing (X), Primary Navigation will
be used.
To manage Locations (change, add or delete) go to Dashboard >
Theme Options > Advanced > Nav Locations
(http://plethorathemes.com/support-center/hotel-xenia-wp/hotel-
xenia-wp-documentation/#nav-locations)
Multi Level Menu Behavior: select if you want child menu items to appear by
Hovering or by Clicking on it
Menu Item Font Options: select a Text Transform from the drop-down list and
inserta Font Size forthe Menu Items.
Menu Item Font Weight: from the drop down list, select a value.
In the next three options, you can adjust the Padding of the Menu Items for large,
medium and small devices. Insert the preferred values in the elds.
In case you mess up with one or more values and want to restore
the original settings, go to the top or the bottom of the page and
click on Reset Section.
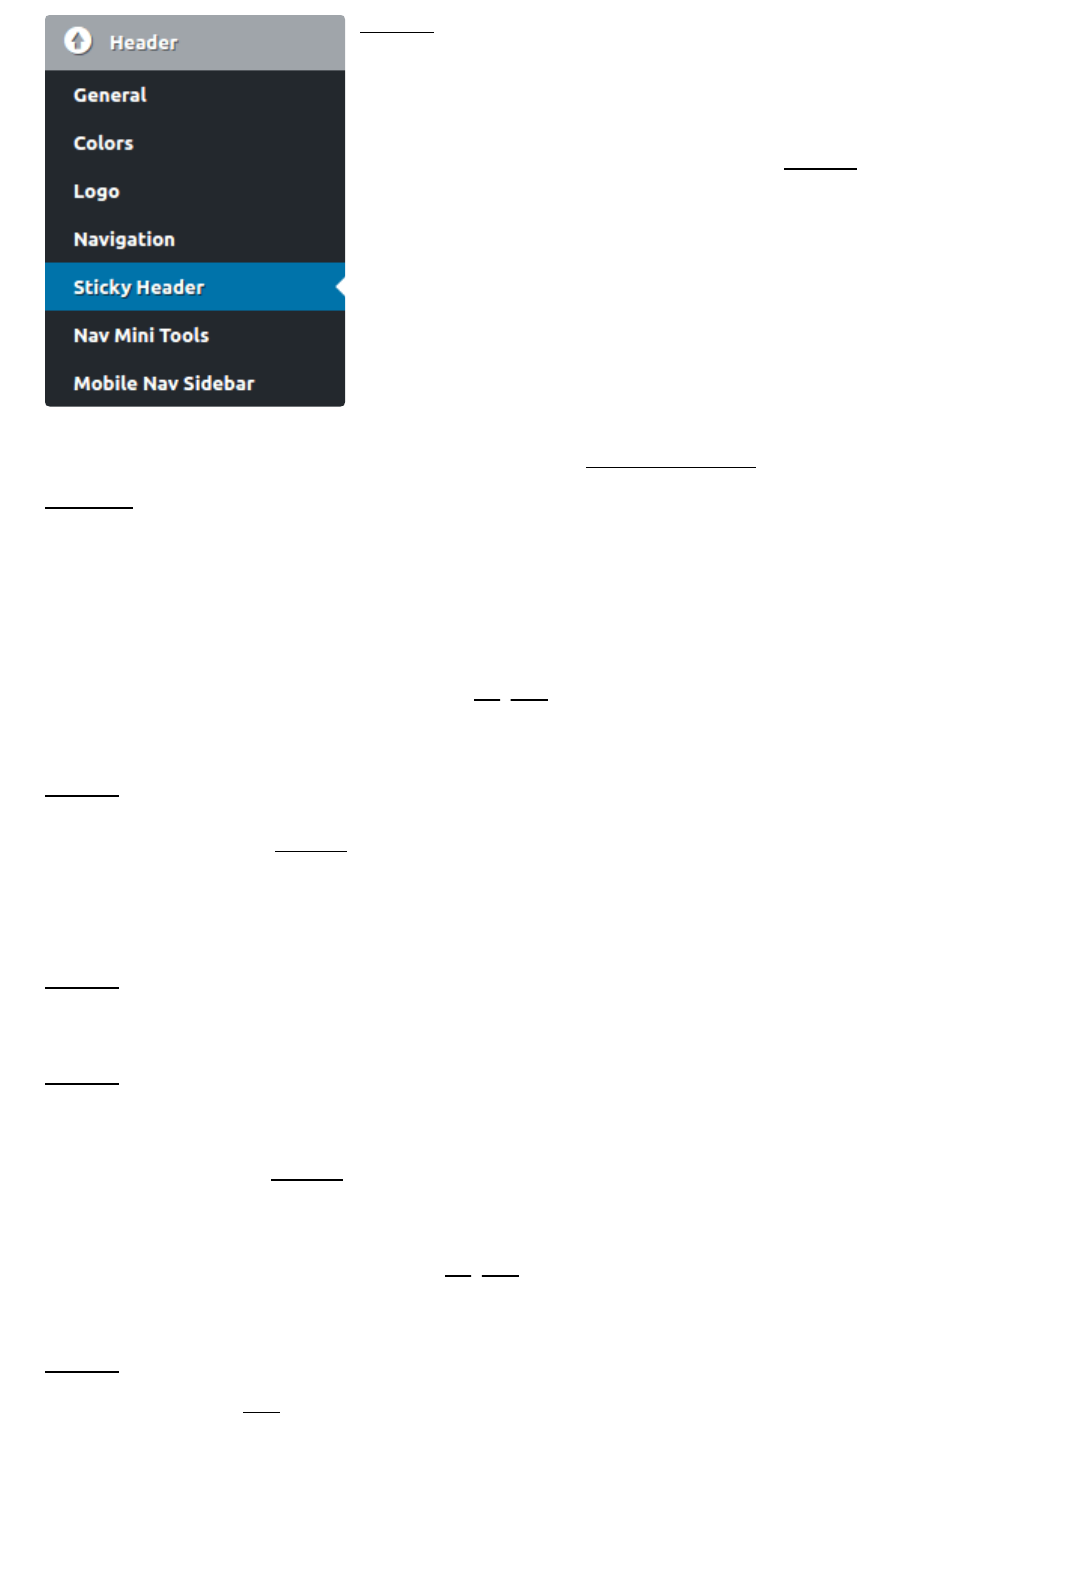
The Header has the option to remain visible all the time or to gowith the ow of
the page. Apart from this, there are several more options here to congure header
behavior and appearance.
AVAILABLE OPTIONS
HEADER SECTION // STICKY HEADER OPTIONS
Select if you want Sticky Header on Scroll or not. This
option will apply to all pages of the website except
those you choose individually not to.
Next, from the drop down list select one of four
combinations for the Sticky Header: On top or Bottom,
Always Visible, On top but visible only after scroll and On
Bottom and sticks on top after scrolling. Clicking on the
(X) mark will apply the default option (always visible, on
top). It’s a global setting, but you can override it
individually in pages as well.
Scroll Offset Trigger: using the input eld, insert a value (number of pixels) to
declare the scrolling point beyond which the appearance of Alternative Sticky
Header will be triggered. Note, it willalso apply to Default Sticky Header if you have
selected the “On top, visible only after scroll starts” from the drop down list.
Alternative Sticky Header Options (after scroll)
In the following Options, you can adjust the behavior of the Alternative Sticky
Header.
Select if you want Alternative Sticky Header to be displayed or not.
In the next option, selectif you want the Logo to be displayed on the Alternative
Sticky Header or not and even set a Custom one. If you select a Custom Logo,
more options will come up, where you can:
Select a Headed Logo Layout from four combinations including, Image or Title only
and Image with Subtitle or Title with subtitle.
Select a Logo Image for the Alternative Sticky Header and upload your own as
well.
In the next option, select if you want the Menu to remain visible on Sticky Header
or not.
In the last ve options you can adjust the appearance of the Alternative Sticky
Header:
Select if you want the Alternative Sticky Header to be transparent or not and then
using the slider set the desired value of Opacity Level. Next, select Background,
Text, Regular and Hovered Link Color for theAlternative Sticky Header.
Always, don’t forget to Save Changes or else you will be
prompted to do so when you try to leave the page.
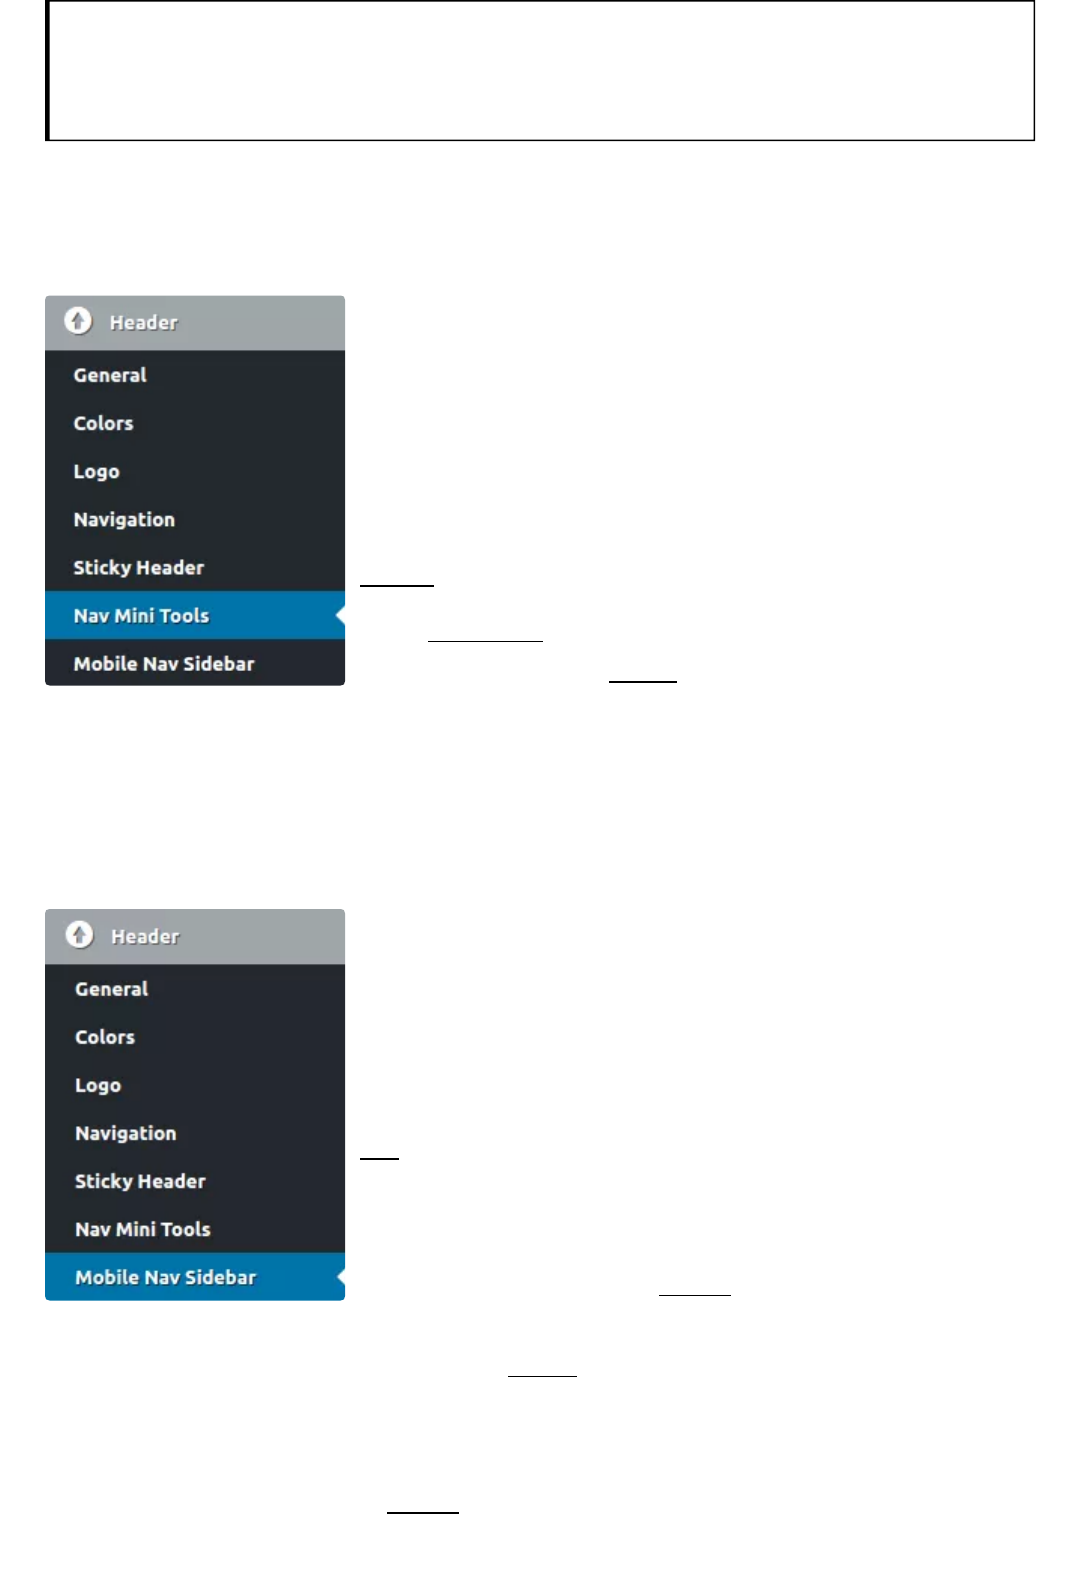
Nav Mini Tools is a feature that allows for various
objects to be displayed in the header area next to the
main menu. Depending onyour need, select to display a
call for action, a bookmark or a shopping cart button. It’s
all up to you.
AVAILABLE OPTIONS
Select if you want Nav Mini Tools to be displayed or not.
Next, switch on the Custom Mark up to enable the input
eld where you can insert your markup code, including
HTML tags for maximum functionality.
HEADER SECTION // NAV MINI TOOLS
Mobile devices have become the most popular
gateways to the internet. Customize the look and feel of
your Menus for when your visitors are viewing on a
mobile device.
AVAILABLE OPTIONS
Set a value between 0 and 3840 (in pixels) to indicate
the Threshold after which the Mobile Menu will be
displayed.
In the next two options,select if you want to Display a
Label (forabove and below threshold). If you select to
Display a new option will come up. Insert a Label Text (for above and below
threshold) in the available eld. You can even use the basic HTML tagsspan | i |
em | strong | b
Next, by using the switch select if you want to Display the Nav Icon (above
threshold) or not.
HEADER SECTION // MOBILE NAVIGATION SIDEBAR
OPTIONS
Last on this tab, from the drop-down list,select the Widgets Area that you want to
be displayed on the sidebar while on a mobile device. If you clear the list by
clicking on (X),Mobile View Sidebar will be used as the default area.
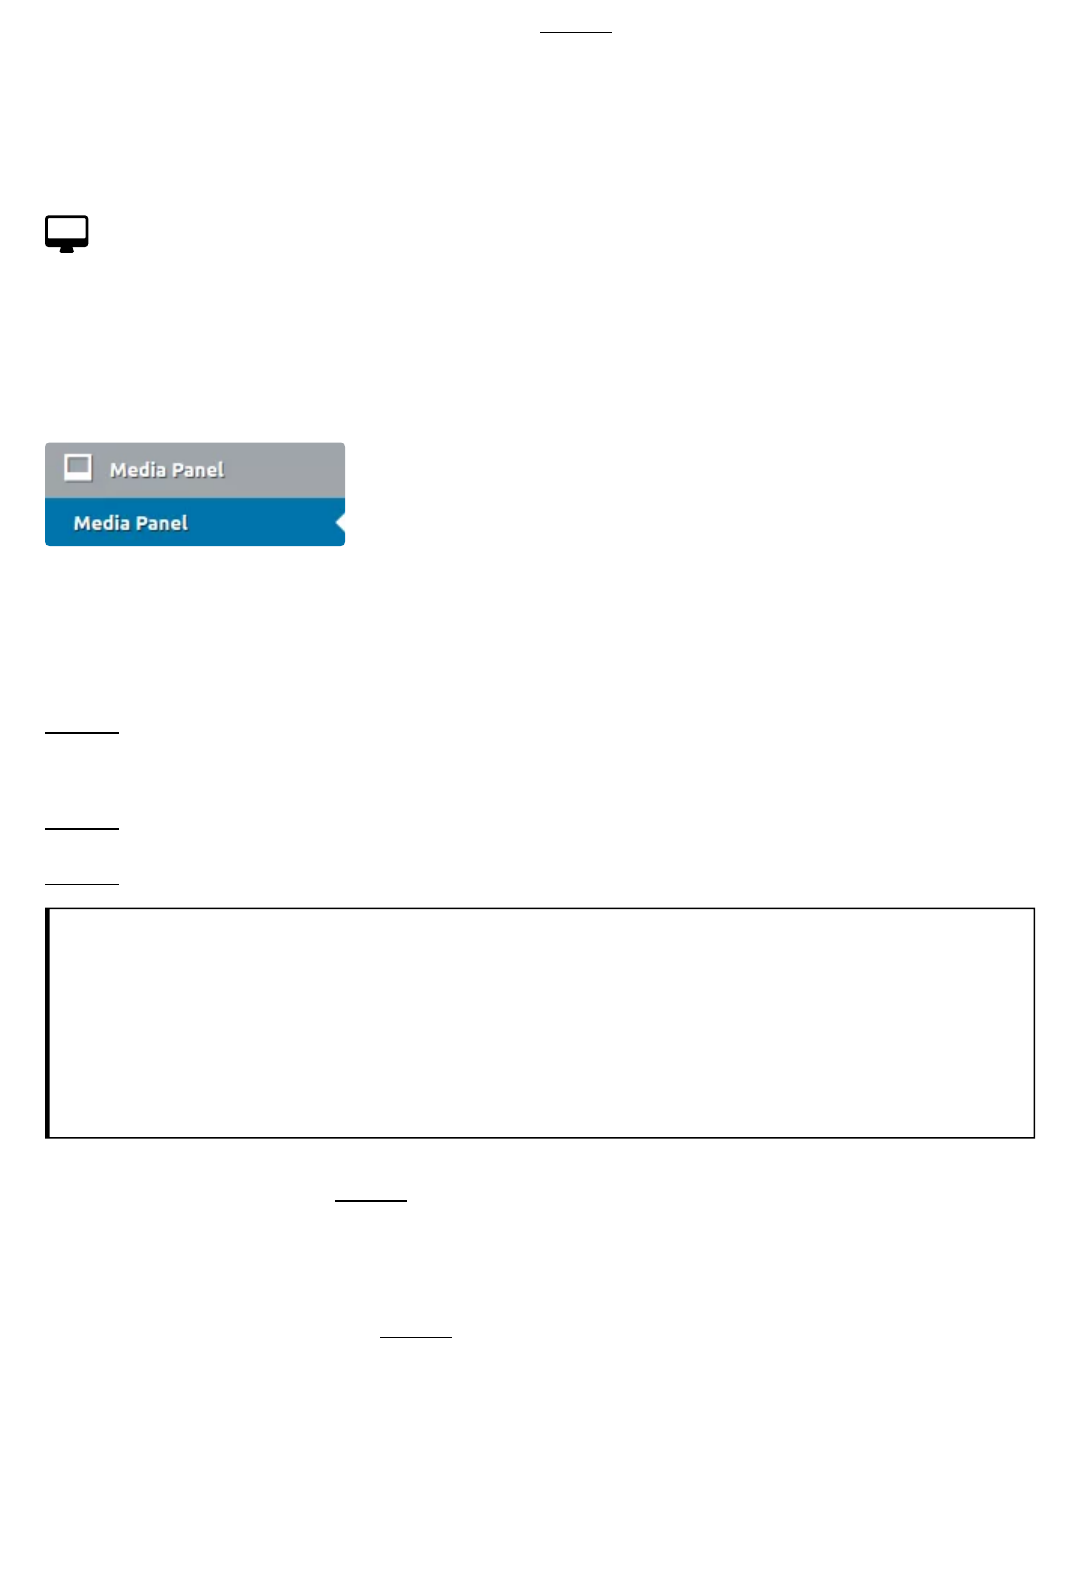
Media Panel
Media Panel is an exciting feature allowing for various
elements to appear withing the pages of your website.
In this section, you can adjust the appearance and
functionality of Media Panel, on a global basis.Custom
conguration is also possiblein each page or post.
AVAILABLE OPTIONS
Select if you want the Media Panel to be displayed or not. If you select to Display,
more options will come up:
Select if you want the Default Panel to display a Color, an Image or a Slider.
Select a Color Set for the Media Panel. There are ve sets available.
If you want to edit the Color Sets go to Theme Options > General
> Basic Colors and Sets (http://plethorathemes.com/support-
center/hotel-xenia-wp/hotel-xenia-wp-documentation/#basic-
colors-and-sets)
Next, using the switch. select if you want to apply a Transparency effect on the
Panel. Note that Revolution Slider uses its own settings. Thus the lter will not
apply on it.
Fade Effect on Page Scroll: select if you need the page to fade while you scroll, or
not.
Full Height: force Media Panel to display in full height. Like transparency, this will
not apply onRevolution Slider as it makes use of it’s own settings.
Headings Group Styling
BASIC CONFIGURATION
For when headings are present, in these options you can adjust several styling
elements by entering padding values and font sizes. Note, the padding values will
be summarized to produce the total padding.
Using the arrows or by entering numbers, select values for Veritcal Padding for
medium and large devices, for small devices and, for extra small devices.
Image Background Height
Using the left and right arrows or by entering numbers, select values for Media
Panel Height for large, for small and, for extra small devices.
The Heading Group Styling and Image Background Height are
strictly connected to the dynamic stylesheet used by the theme.
Therefore, settings are applied globally and cannot be overridden
in per page options.
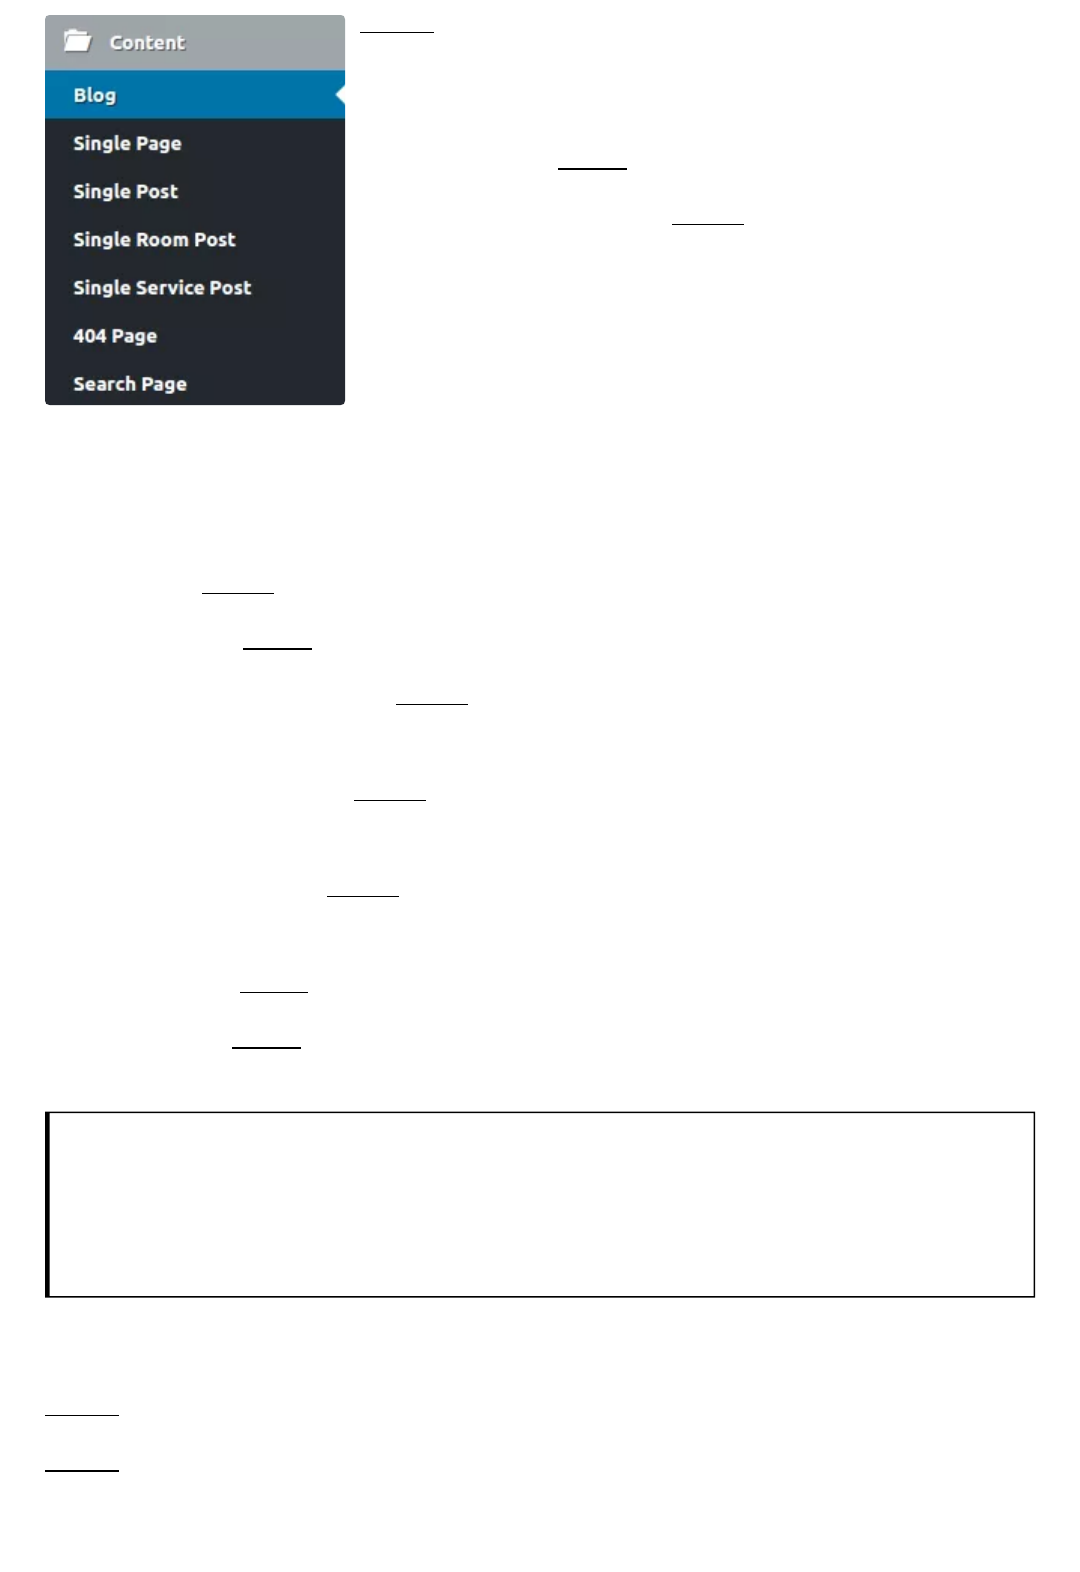
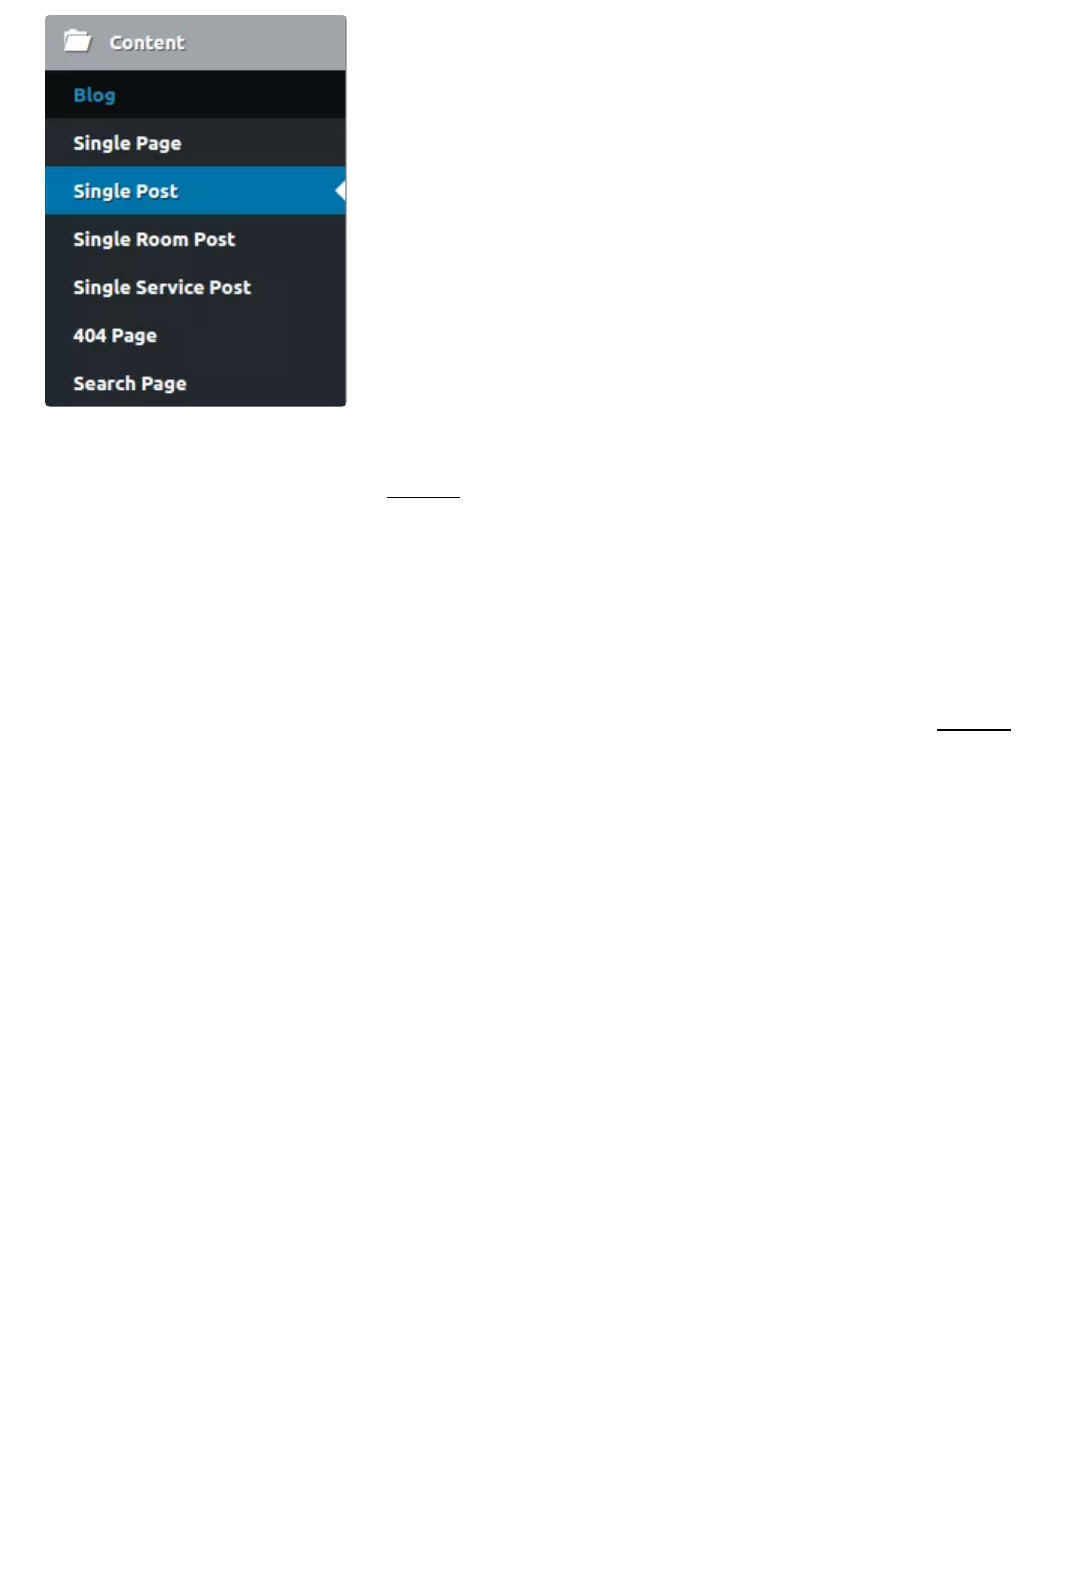
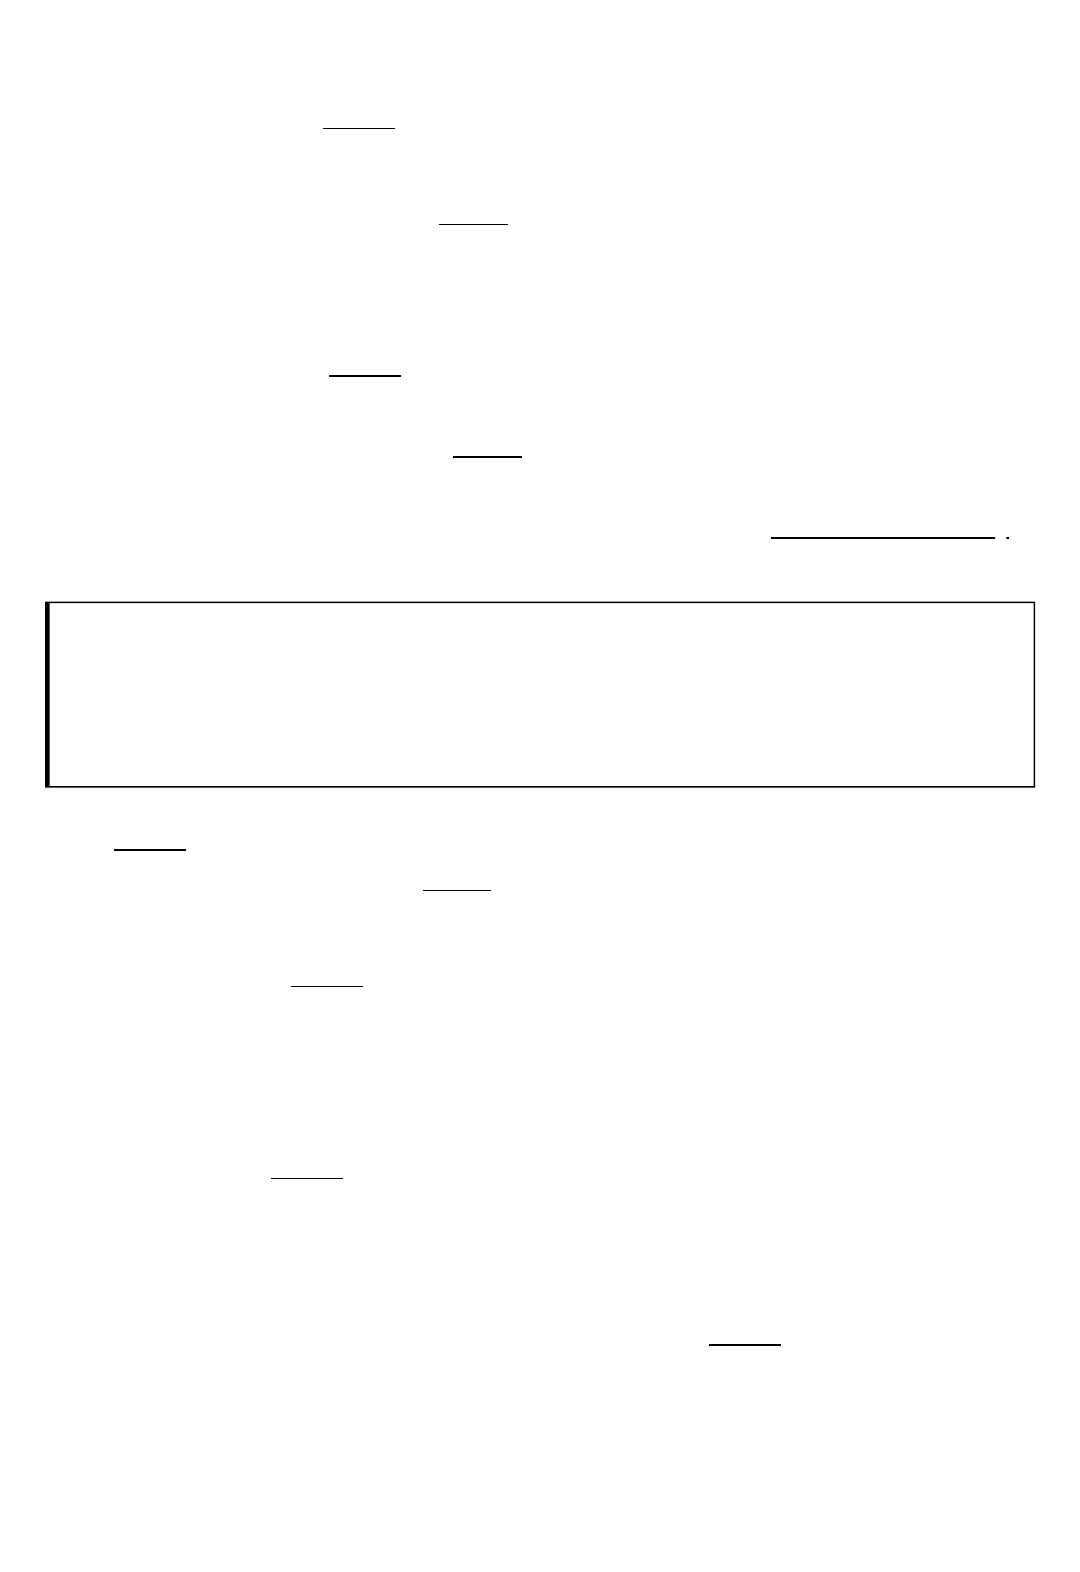
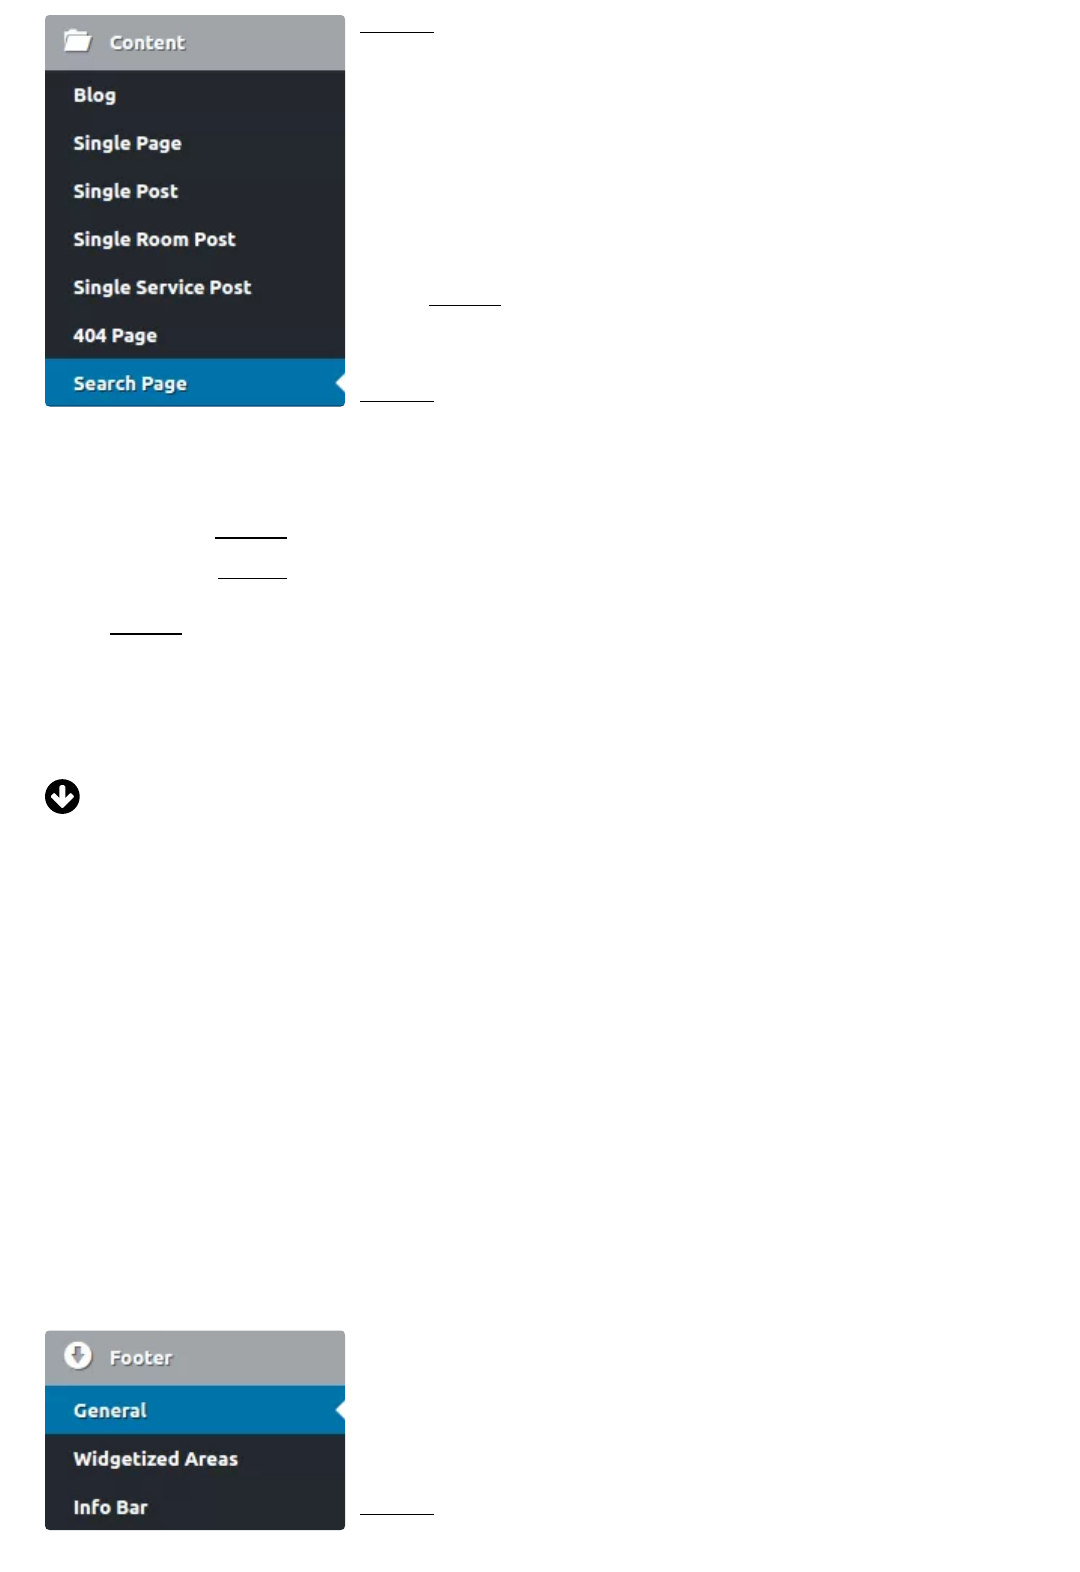
Content
In this section, you can nd all Content Options. Manage all available post types
like Blog, Single Page, Single Post, Single Room Post, Single Service Post, the
famous 404 Page and the fabulous Search Page, adjusting the appearance and
behavior of mostvisible elements. In the vast majority, changes will apply globally
to current and future post except posts customized using within post options.
CONTENT
On this tab, you can adjust the appearance and various elements related to the
catalog view of your posts. The tab is divided into three parts, referring to: Text
Elements, Listing View, and Layout & Styling.
AVAILABLE OPTIONS
Text Elements
BLOG OPTIONS
Select if you want to Display Title On Content or not. It’s
possible you need toturn Title Off if you are using Media
Panel to display titles.
Next, in the eld insert the Default Title for catalog view.
Selected Taxonomy Title: select between Default Title
and Taxonomy Title for when a taxonomy archive such
as category or tag is displayed.
Selected Author Title: select between Default Title and
Author Display Name for when an author archive is
displayed.
Selected Date Title: select between Default Title and Selected Month for when a
date view is displayed.
At this point,select if you want to Display Subtitle On Content or not.
Next, in the eld insert the Default Subtitle.
Selected Taxonomy Subtitle: select between Default Subtitle and Taxonomy Title
for when a category or tag archiveis displayed.
Selected Author Subtitle: select between Default Subtitle and Author Biofor when
an author archive is displayed.
Selected Date Subtitle: select between Default Subtitle and leaveEmptyfor when a
date view is displayed.
In the next eld, insert a Title Text for when there are No Posts published.
In the last eld, insert a Description Text for the case there are No Posts
published.
In case you have installed and activated a speed optimization
plugin like Super Cache, don’t forget to clear cache everyafter
saving changes.
Listing View
Select if you want the Posts Catalog Type to be rather Classic or Compact.
Select if you want the Featured Media to be displayedAccording to Post Format, to
Force Display Featured Image andeven Do Not Display Image at all.
Select if you want to Display an Excerpt or Content while in Listing View. If you
select Content, posts containing the tag “More” will appear.
In the next seven options, select if you want to Display Subtitle,Categories Info,
Tags Info, Author Info, Date Info, Comments Count Info and “Read More” Button.
The latter option if set to positive will bring up anew input eld:
Insert a Text for Read More Button in the eld.
Layout & Styling
Select aPage Layout from avariety of four: full view, with a sidebar at left or right
and with wide borders. If you select a Sidebar to appear, a drop-down list will come
up allowing toselectone Sidebarto be displayed. If you click on the (X) button, the
default Sidebar (Blog) will be applied.
To manage Sidebars again, go to Theme Options > Advanced >
Sidebars (http://plethorathemes.com/support-center/hotel-xenia-
wp/hotel-xenia-wp-documentation/#sidebars)
Last, select a Color Set for Content Section. It will be applied tobackground, main
column and sidebar. Remember, you can customize color sets by going to General
> Basic Colors & Sets (http://plethorathemes.com/support-center/hotel-xenia-
wp/hotel-xenia-wp-documentation/#basic-colors-and-sets)
On this tab, you can adjust the appearance and behavior
of Single Pages. Although settings will apply to all
current and new Pages, those who have already been
customized separately will not be affected. The tab is
divided into three parts, referring to Text Elements,
Auxiliary Navigation and Layout & Styling.
AVAILABLE OPTIONS
Text Elements
Select if you want the Title to bedisplayed or not. This
options could be useful if you are using Media Panel to
display titles.
Select if you want the Subtitle to bedisplayed or not.
SINGLE PAGE VIEW OPTIONS
Auxiliary Navigation
Select a value (in ms) for Scrolling Speed of One Page
Select if you want to display Breadcrumb or not.
Layout & Styling
From a graphical representation of Page variations, select a Layout. You can
have full page view, with a sidebar at left or right and with wide borders. If you
select a sidebar to appear a drop down list will come up allowing to select a
Sidebar. If you click on (X) the default Sidebar will apply.
To manage Sidebars go to Theme Options > Advanced > Sidebars
(http://plethorathemes.com/support-center/hotel-xenia-wp/hotel-
xenia-wp-documentation/#sidebars)
Container Type: applying mostly on larger screens. This option allows for the
design to be Default or Fluid, means, adjusted to screen size.
Content Section Color Set: select a color set for text and background on content
section (for main column and sidebar). There are ve available set you can use
and even customize them in Theme Options > Generals > Basic Colors & Sets
(http://plethorathemes.com/support-center/hotel-xenia-wp/hotel-xenia-wp-
documentation/#basic-colors-and-sets)
Next, select a value (in ms) to adjust the Scrolling Speed of One Page.
Last, you can insert oneor more newExtraClasses in the eld and refer to them in
a custom CSS for even more customized appearance (for advanced users).
On this tab, you can adjust the appearance and behavior of Single Posts. Settings
will apply to all current and new pages except those who have been customized
separately. The tab is divided into four parts referring to Text Elements, Media,
Auxiliary Navigation and Layout & Styling.
AVAILABLE OPTIONS
Text Elements
SINGLE POST VIEW OPTIONS
The rst seven options allows for selecting if you want
to Display Title, Subtitle, Categories Info, Tags Info,
Author Info, Date Info and Comments Count Info in the
Single Post View
Media
The next two options allow to Display or hide the
Featured Media and select a Display Ratio from a
variety of values, including all popular size formats. The
setting will apply to both single and listing view
Auxiliary Navigation
On the next four options, select to Display or hide the Next/Previous Room
Navigation, and between Custom Labels or Post Titles for Labels Type. If you
select Custom Labels, two more elds will come up: insert a Label Text for
Previous Post and a Label Text for Next Post.
Layout & Styling
In the last options, customize the Layout and Styling of Single Posts View. Select if
you want the Page to appear in Full Width, with a Sidebar at Left or Right, or with
wide borders. If you select to display the sidebar, a drop down list will come up
allowing to Select a Sidebar. If you click on (X) the default (Blog) sidebar will apply.
If you need to managesidebars go to Theme Options > Advanced > Sidebars.
Content Section Color Set: from a variety of seven select one Set to dene text, the
background color on the main column andsidebar.If you need to customize a Color
Set go to Theme Options > General > Basic Colors and Sets
(http://plethorathemes.com/support-temp/hotel-xenia-wp/hotel-xenia-wp-
documentation/#basic-colors-and-sets)
On this tab, you can set the default values for current and new Room Posts.
Changes will apply to all posts except those you have customized settings
separately. The per post Room Options is located under the text area every time
you create or edit a post.
The tab is divided into eight parts where you have control over Text Elements,
Media, Image Gallery, Auxiliary Navigation, Layout & Styling, Amenities, Client
Testimonials and Advanced Settings.
SINGLE ROOM POST VIEW OPTIONS

AVAILABLE OPTIONS
Text Elements
At rst, select if you want to Display Title, Subtitle,
Room Category Label, Room Tag Label, Excerpt and
Divider or not.
Media
Select if you want to Display Images or not. If you
choose to Display Images, a new option will come up for
the Type of Media, allowing to choose between Featured
Image or Image Gallery.Then, from a variety of values, select an aspect Ratio for
the Mediato Display.
Media > Image Gallery
Select if you want the Auto Play to be enabled or not. If you choose to Autoplay,
select a valuefor Interval Timeout and one for Speed. Next, select if you want to
Pause On Mouse Hover or not. Also, select if you want to Shownavigation buttons
and navigation bullets. Further, select to enable or disable Mouse drag, Touch
drag, Lazy Load Images and Right to Left (change elements direction).
Auxiliary Navigation
On thispart, select if you want Next/Previous Room Navigation enabled or not. If
you select to enable this navigation one more option will come up allowing to
select the Type of Labelsbetween Custom Labels and Post Titles. If you select to
display Custom Labels, two more elds will come up where you can set a Label
Text for Previous Room and a Label Text for Next Room.
Layout & Styling
Select if you want the Page to appear in Full Width, with a Sidebar at Left or Right,
or with wide borders. If you select to display the sidebar, a drop down list will come
up allowing to select a sidebar. If you click on (X) the default (Rooms) sidebar will
apply. If you need to manage sidebars go to Theme Options > Advanced >
Sidebars.
Next, select if you want theDefault(standard) or aFluid (screen size dependent, for
wider screens) Container Type.
Content Section Color Set: from a variety of seven select one Set to dene text,
background color onthe main column andsidebar.If you need to customize a Color
Set go to Theme Options > General > Basic Colors and Sets
(http://plethorathemes.com/support-center/hotel-xenia-wp/hotel-xenia-wp-
documentation/#basic-colors-and-sets)
Content Section Align: select fromLeft, Center or Right for all Section except editor
text.
Extra Classes: in the eld given, insert one or more extra classes for custom CSS
referring .
Amenities
In this part of the tab, select if you want to Display Amenities or not. Using the
Amenities Index you can customize each Amenity by conguring: Amenities
Status (Checked or Not Checked), insert a Unique ID, a Title, a Description, and an
Icon Source. The latter can be either Library Icon or Custom Icon. Select a Library
Icon or Upload a Custom One, accordingly. It is possible to Add a new Amenity if
you go to the bottom of the Amenities listed.
If you add an amenity on or more single posts and modify Unique
Id, the Amenity will disappear from the post(s), and you will have
to associate it again.
Next, select if you want Amenities Carousel to Auto Play or not. If you choose to
Auto Play, in the elds given, insert a value on Amenities Carousel / Autoplay
Interval Timeout and value for Speed or use the sliders to select easily.
Further on this part, select if you want the Amenities Carousel to Pause on Hover,
to display Navigation Bullets or not, to allow Looping, Mouse Dragging, Touch
Dragging and to enable or disable Right to Left direction.
Client Testimonials
On the next option select if you want Client Testimonials to be displayed or not.
Advanced
On the last part, there are three moreOptions.
Custom Primary Taxonomy: from the drop down list select a category. Change
default (room-category)only if you want to display a custom taxonomy associated
with room post type. Non-associated taxonomies will not be displayed.If you click
on (X) the default Taxonomy will be used.
CustomSecondary Taxonomy: from the drop down list select a category. Change
default (tag-categrory)only if you want to display a custom taxonomy associated
with room post type. Non associated taxonomies will not be displayed.If you click
on (X), the default Taxonomy will be used.
Last, in the available eld, inserta custom permalink (Rewrite URL) for Room post
type.
If you change this setting, it is most likely to get a 404-page error
when you try to see a room post. Go to Dashboard > Settings >
Permalinks and click on “Save Changes” to rebuild the structure.
On this tab, you can set the default values for any new
Service Post, you create and also for the current ones.
Service Posts that have already been customized
individually will not be affected. In every Service Post,
you can nd theService Options located under the main
text area.
AVAILABLE OPTIONS
Text Elements
Select if you want to DisplayTitle and Subtitle or not.
For Overlay Title, select if you want to Display Service Category, Custom Title or Do
not Display at all. If you select Categoryit will display the rst Category entered in
the post.
Select if you want to display Service CategoryTax Label(s) or not. If you need to
sort these labels in a different way go to Theme Options > Content > Single Service
Post > Advanced > Primary Tax Labels Taxonomy.
Again,if you want to display Service Tag Tax Label(s) or not. If you need to sort
these labels in a different way go to Theme Options > Content > Single Service
Post > Advanced > SecondaryTax Labels Taxonomy.
Next, select if you want to Display Excerpt and Divider or not.
Media
SINGLE SERVICE POST VIEW OPTIONS

Select if you want to Display Images or not. If your decision is to Display Images,
two more options will come up:
Media Type: select if you want to show Featured Image or Image Gallery and
Select Media Display Ratio from a variety of popular formats or even maintain
Native Ratio.
Auxiliary Navigation
Select if you want Next/Previous Room Navigation enabled or not. If you select to
enable this navigation, one more option will come up allowing to select the Type of
Labels between Custom Labels and Post Titles. If you select to display Custom
Labels, two more elds will come up where you can set a Label Text for Previous
Room and a Label Text for Next Room.
Layout & Styling
Select if you want the Page to appear in Full Width, with one Sidebar at Left or Right,
or with wide borders. If you select to display the sidebar, a drop down list will come
up allowing to select a sidebar. If you click on (X) the default (Rooms) sidebar will
apply. If you need to manage sidebars go to Theme Options > Advanced >
Sidebars.
Next, select if you want theDefault(standard) or aFluid (screen size dependent, for
wider screens) Container Type.
Content Section Color Set: from a variety of seven select one Set to dene text,
background color on the main column andthe sidebar.If you need to customize a
Color Set go to Theme Options > General > Basic Colors and Sets
(http://plethorathemes.com/support-temp/hotel-xenia-wp/hotel-xenia-wp-
documentation/#basic-colors-and-sets)
Content Section Align: select fromLeft, Center or Right for all Section except editor
text.
Extra Classes: in the eld given, insert one or more classes for custom CSS
referring .
Advanced
Primary Tax Labels Taxonomy: from the drop down list select a Taxonomy. Change
default (service-category) only if you want to display a custom taxonomy
associated with Service post type. Non associated taxonomies will not be
displayed. If you click on (X) the default Taxonomy will be used.
Secondary Tax Labels Taxonomy: from the drop down list select a Tag. Change
default (service-tag) only if you want to display a custom taxonomy associated
with Service post type. Non-associated taxonomies will not be displayed. If you
click on (X), the default Taxonomy will be used.
On the lastthree elds, insert a custom permalink (Rewrite URL) for service Post
Type, for service-category Taxonomy and for service-tag Taxonomy. These
settings work only with taxonomies associated by default with each post type.
If you change this setting, it is most likely to have a 404-page
error when you try to see a room post. Go to Dashboard >
Settings > Permalinks and click on “Save Changes” to rebuild the
structure.
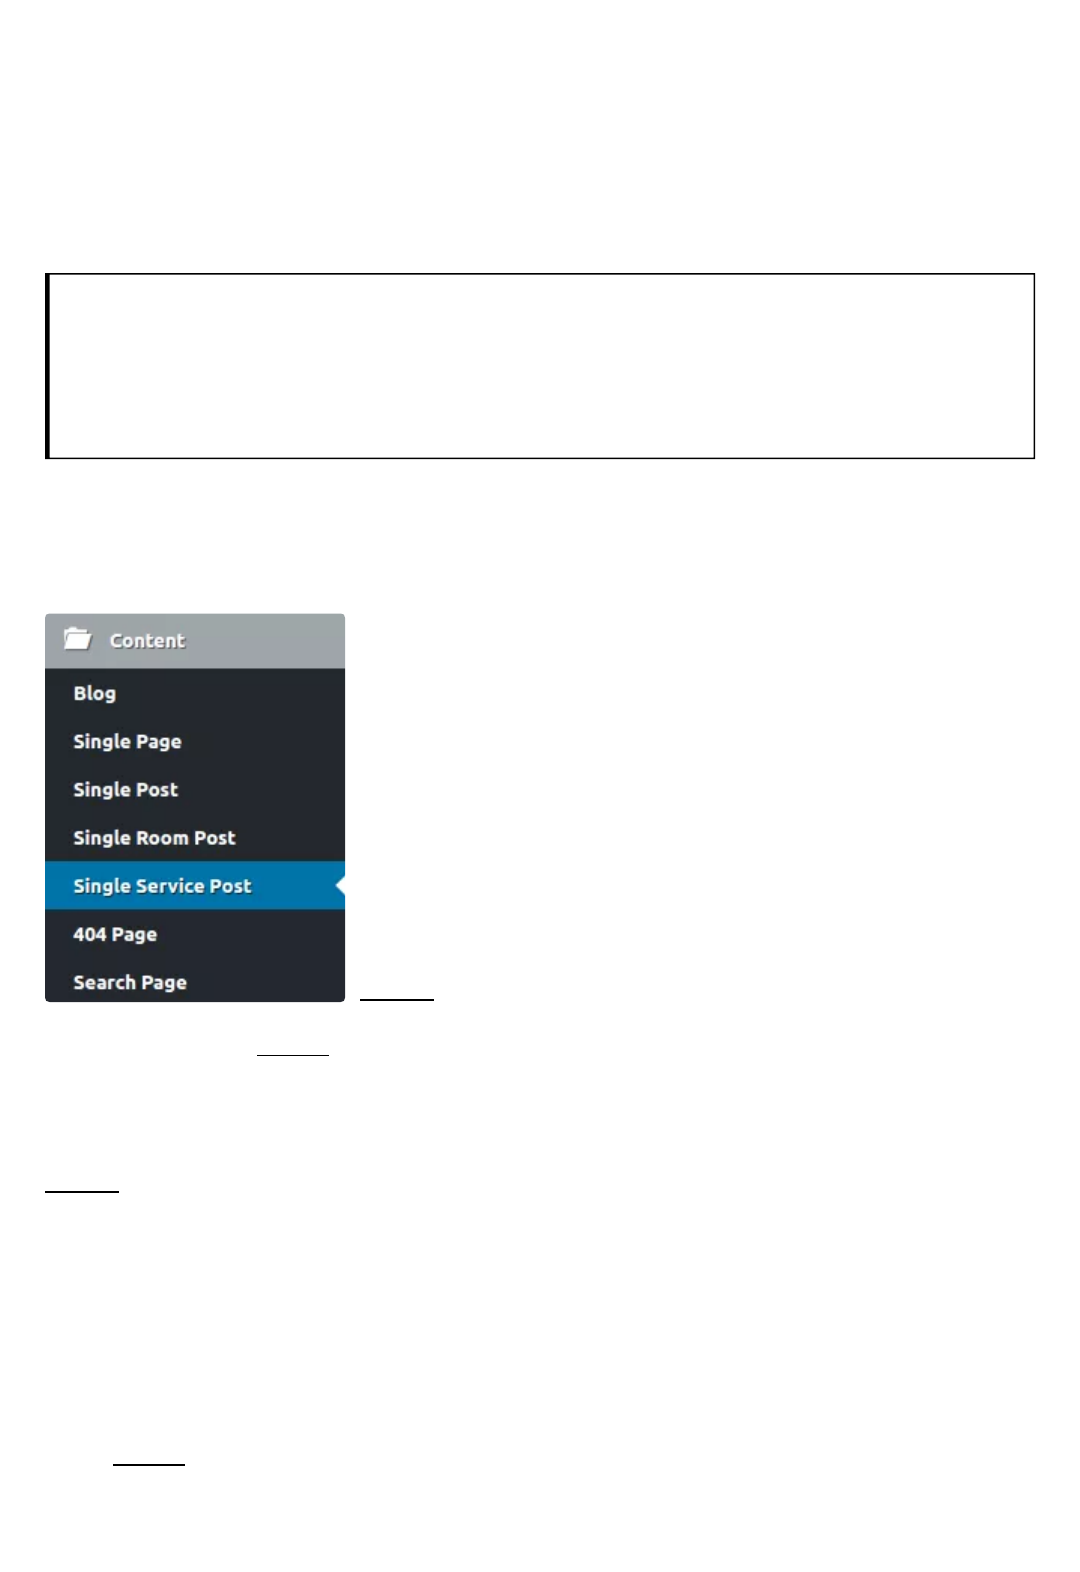
On this tab, you can customize the look of 404 error
page which occurs in cases where someone has
provided the browser with an invalid URL under you
website directory or from a misdirected link.
AVAILABLE OPTIONS
Select a Featured Image to be displayed in the 404
page. You can upload a new or even remove current.
In the provided elds, insert a Title, a Subtitle, an
Additional Title on Content and the Content to be
displayed on this common error page.
Next, select if you wantto Display a Search Fieldor not. If you choose to Display
Search Field, a new eld will come up where you can set your Text for Search
Button.
404 PAGE OPTIONS
When you have a website with rich content, someone may need to search for
something instead of using standard navigation. On this tab, you can customize
the appearance of Search Page
Available Options
SEARCH PAGE OPTIONS
Select a Page Layout between a page with one Right and
one Left Sidebar
From the drop-down list, select a Sidebar to be
displayed. If you click on (X) the default (Blog) sidebar
will be applied. If you want to manage sidebars go
Theme Options > Advanced > Sidebars.
Next, select if you want the Default or a Fluid Container
Type (will apply mainly to large screens).
Select one out of six Color Sets for Content or leave the
Default one. If you need to change a color set, go to
Theme Options > General > Basic Colors & Sets.
At this point, select if you want to Display Title on Content or not. Next, in the
provided eld, insert a Title Prex to be shown before the search keyword.
Last, select if you want to Display Subtitle on Content or not. In the eld, insert a
Subtitle.
Footer
The Footer is a place that identies the edge of the visible part of every page.
Usually, users who scroll to the bottom are looking for some useful information. In
this section, you can customize the appearance of the Footer, the Areas reserved
for Widgets and the Footer Bar. All settings will apply globally, but you still can
customize the Footer Bar separately in each post.
FOOTER
On this tab, you can customize the look of the footer.
Available Options
General Options
Select if you want the Default or a Fluid Container Type
for the footer.
FOOTER SECTION
In the eld, enterone or more Extra Classes if you want to achieve a different style
usingCustom CSS.
Footer Color Set
Select a Color for Background, for Text andRegular and Hovered Link Text.
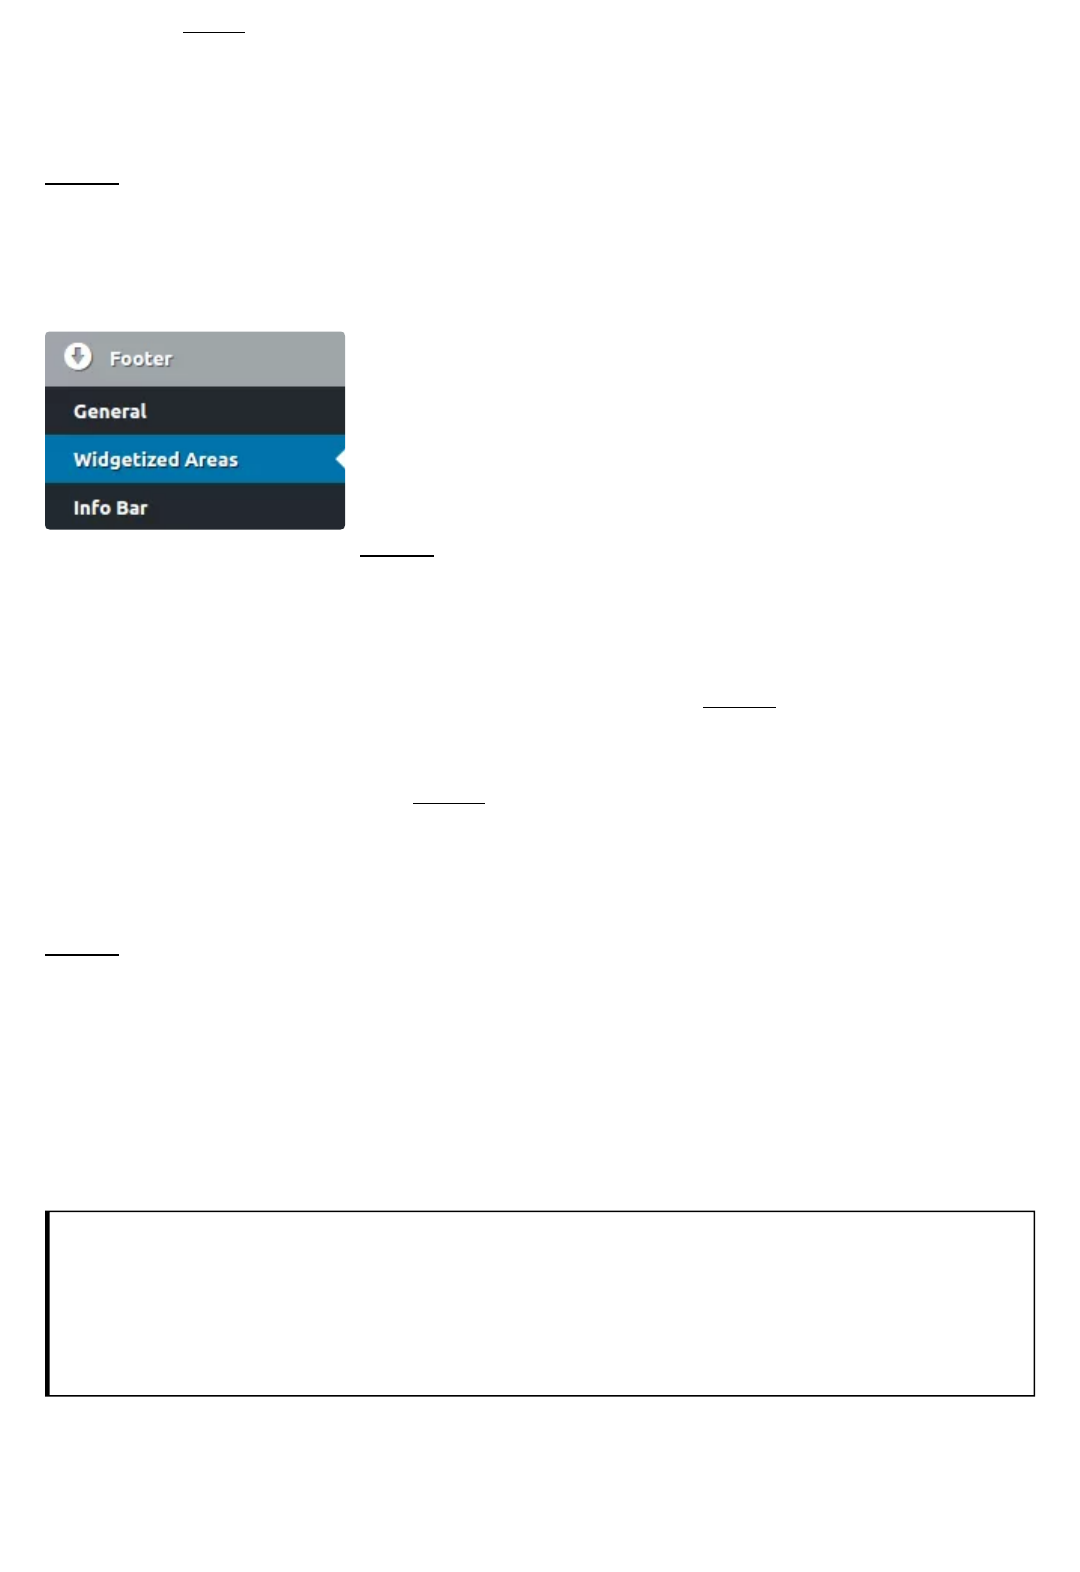
Here, you can customize the appearance and source
content for the Widgets Areas of the footer.
Available Options
Footer Widgets Area // 1st Row
Select if you want to Display Widgets on the rst row or
not. If you select to Display Widgets, more options will come up:
Container Type: select between Default or Fluid design (for larger screens)
Then, from a variety of seven different Layoutpresets, select the one you need for
Widget Columns in this footer row.
Next, from the drop down lists, select what will be displayed in Column 1-1, Column
1-2, and Column 1-3 Sidebar. If you click (X) the default sidebars will apply.
Footer Widgets Area // 2ndRow
Select if you want to Display Widgets on the 2nd row or not. If you choose to
Display Widgets, more options will come up:
From a variety of seven different Layout presets, select the one you need for
Widget Columns in this footer row.
Last, from the drop-down list select a Sidebar to be displayed in the Column 2-1
Sidebar. If you click on (X), the default sidebar will be applied.
If you need to manage Sidebars, go to Theme Options >
Advanced > Sidebars (http://plethorathemes.com/support-
center/hotel-xenia-wp/hotel-xenia-wp-documentation/#sidebars)
FOOTER WIDGETIZED AREAS
INFO BAR
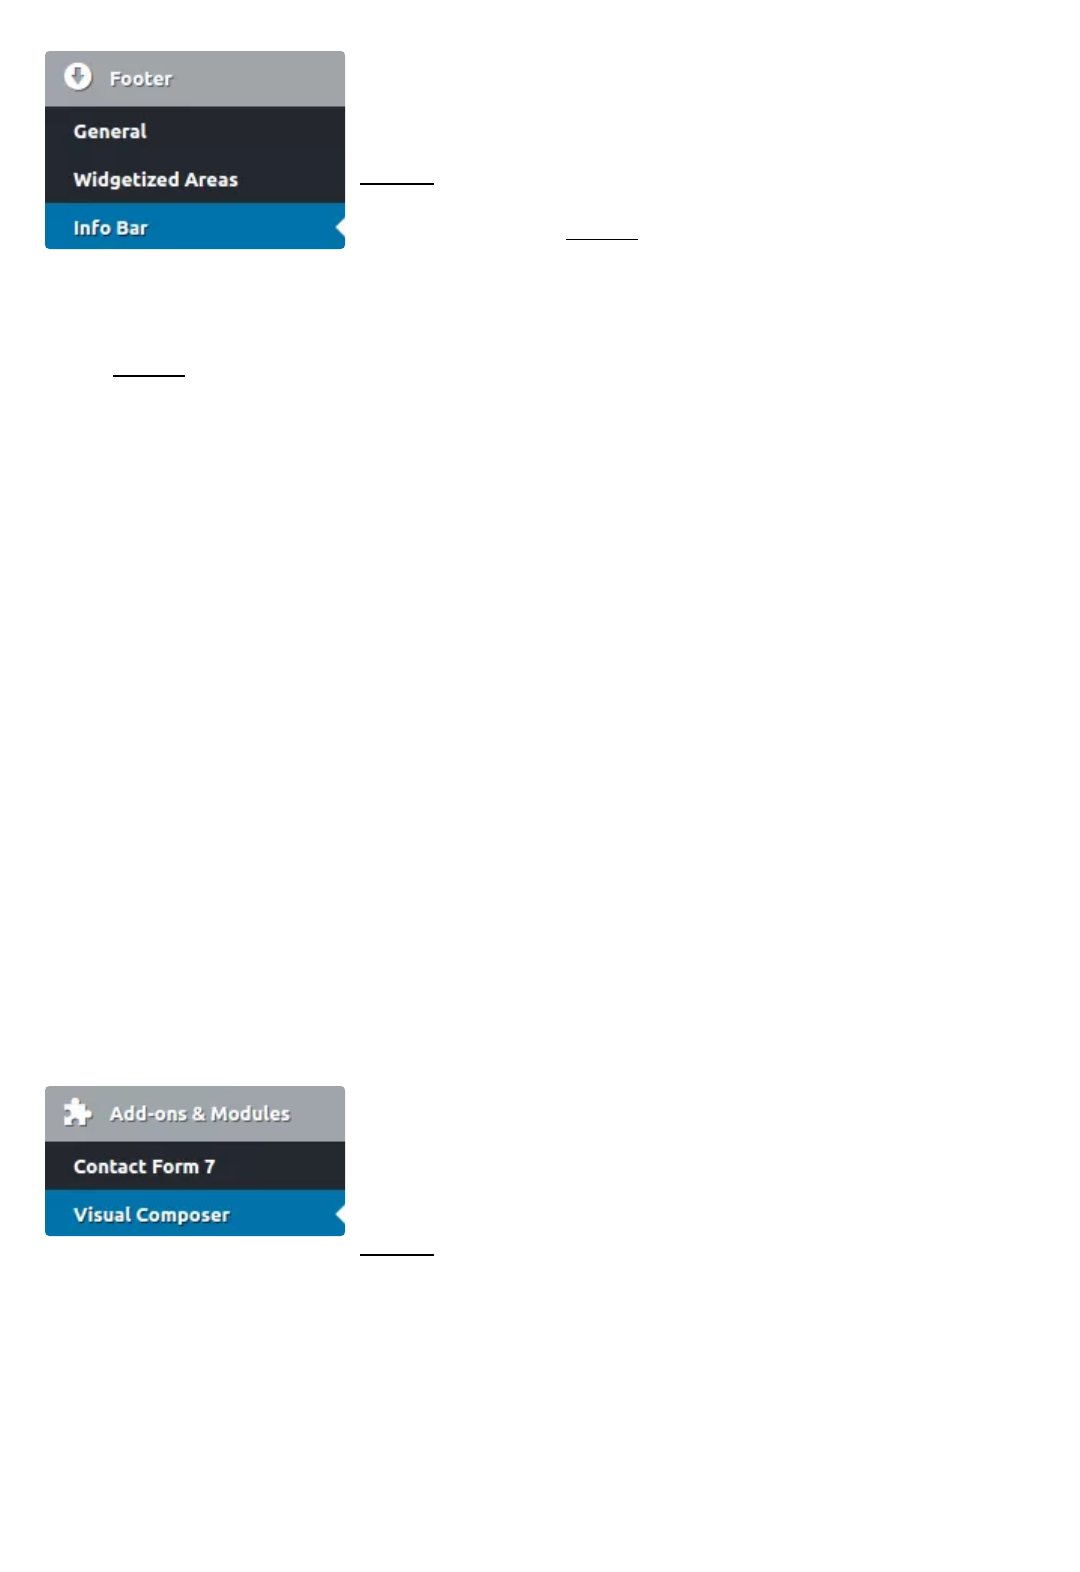
On this tab you can setthe appearance and content of
the Footer Info Bar.
Available Options
Select if you want to Display or Hide the Footer Info Bar.
From 6 presets, select a Color Set for the Info Bar or
keep up with the Default. If you needto manage Color
Sets, go to Theme Options > General > Basic Colors and Sets.
Next, select if you want a Transparency Film to be applied on the Info Bar or not.
In the next eld, you can set your Copyright and Credits Text to appear on the
specically reserved areas of the footer. You can even use basic HTML tags if you
need.
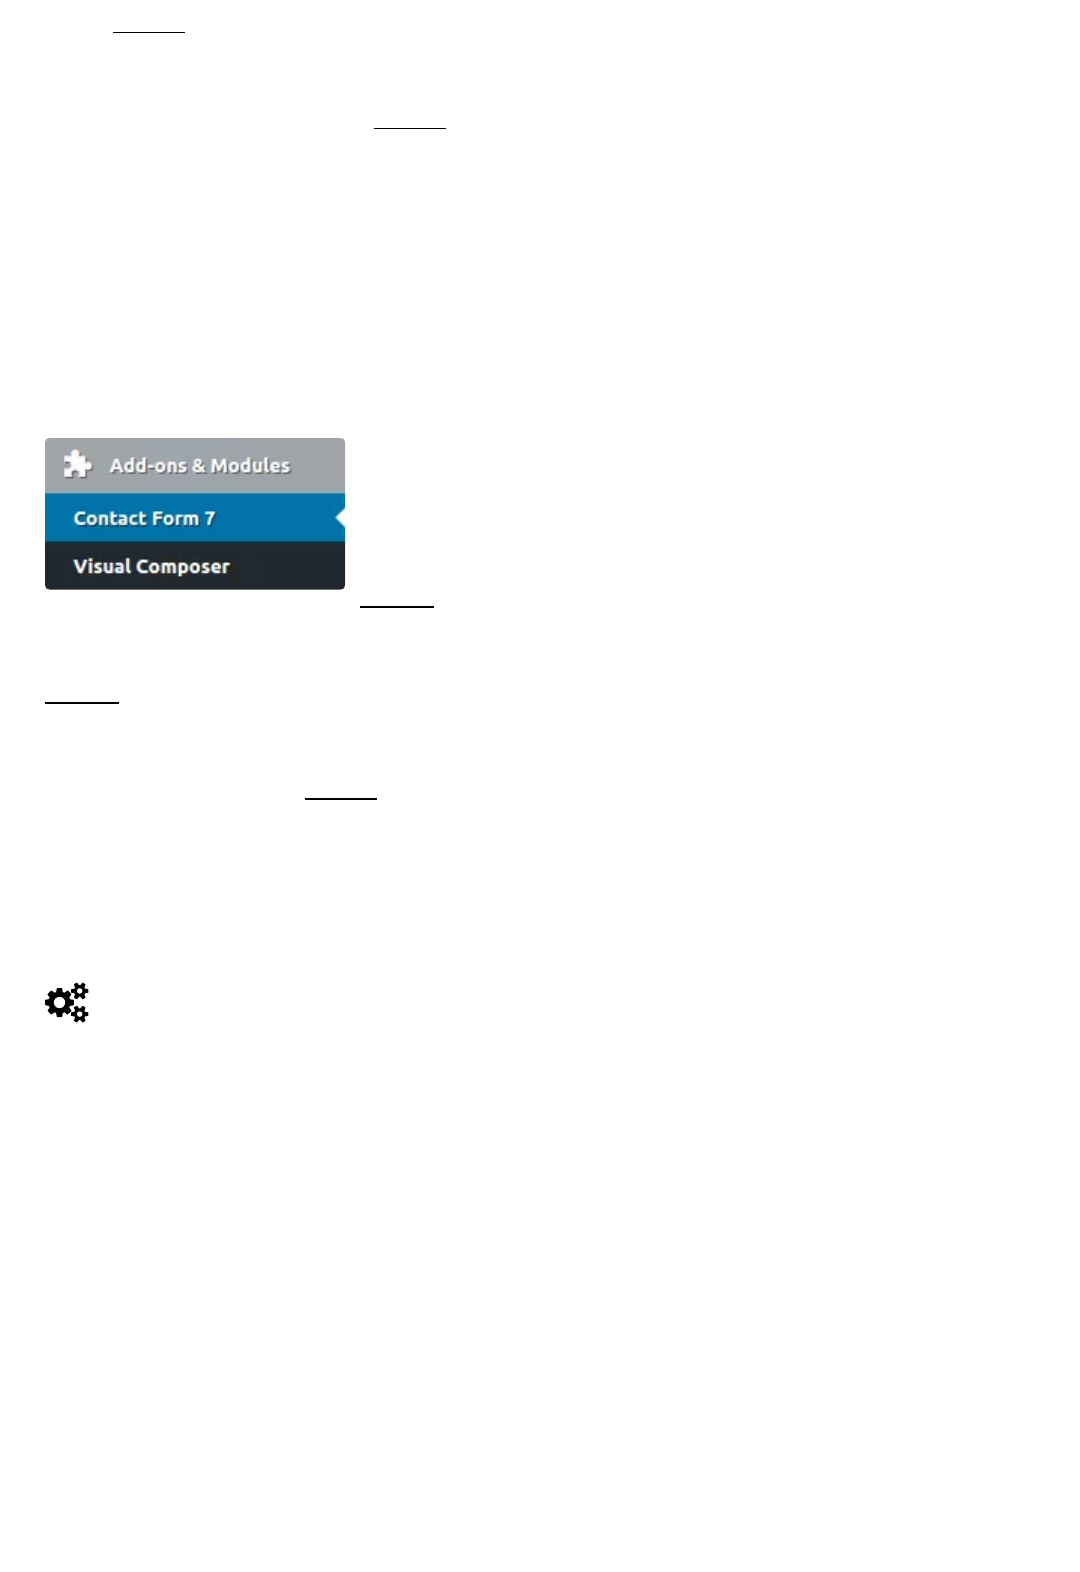
Add Ons & Modules
In this section, you can adjust the behavior and certain functions related to plugins
included with our theme. You can also nd some useful information about the
implementation of this software.
ADD-ONS & MODULES
On this tab, you can adjust the functionality of Visual
Composer, a third party plugin providedwith our theme.
Available Options
Select an Update Method for Visual Composer Plugin.
This setting affects the support provided. If you select to get updates with the
Theme, which is the recommended option, you will be able to get Technical
Support from Plethora Themes since the license is covered by the regular theme
license you have purchased. If you select to get updated directly from the plugin,
you will need to purchase a license key from the plugin author and to activate the
plugin. Also, in that case, technical support will be provided from WP Bakery.
VISUAL COMPOSER
Next, select if you want to Allow Front Editor Use or not. We do not provide support
for front-end-editor issues that may occur.
Last, using the tick boxes, select the elements you want to enable (not including
Plethora elements) for use with Visual Composer. Certain elements have been
disabled by default for causing known issues and had to be deprecated, but the
author is keeping themfor compatibility reasons. Note that we can not provide any
technical support if you decide to use those elements.
The following options apply to the Contact Form 7; a
third party plugin provided with our theme.
Available Options
Select if you want to use HTML5 input type Support or
not.
Select if you want the HTML 5 Fallback Support to be enabled or not. Use this
option if you face issues with some HTML5 input types.
Using the tick boxes, select if you want to add the following custom elds on the
Contact Form 7 panel: Select Categories and Select Posts. Useful for when you are
using another plugin for this.
CONTACT FORM 7
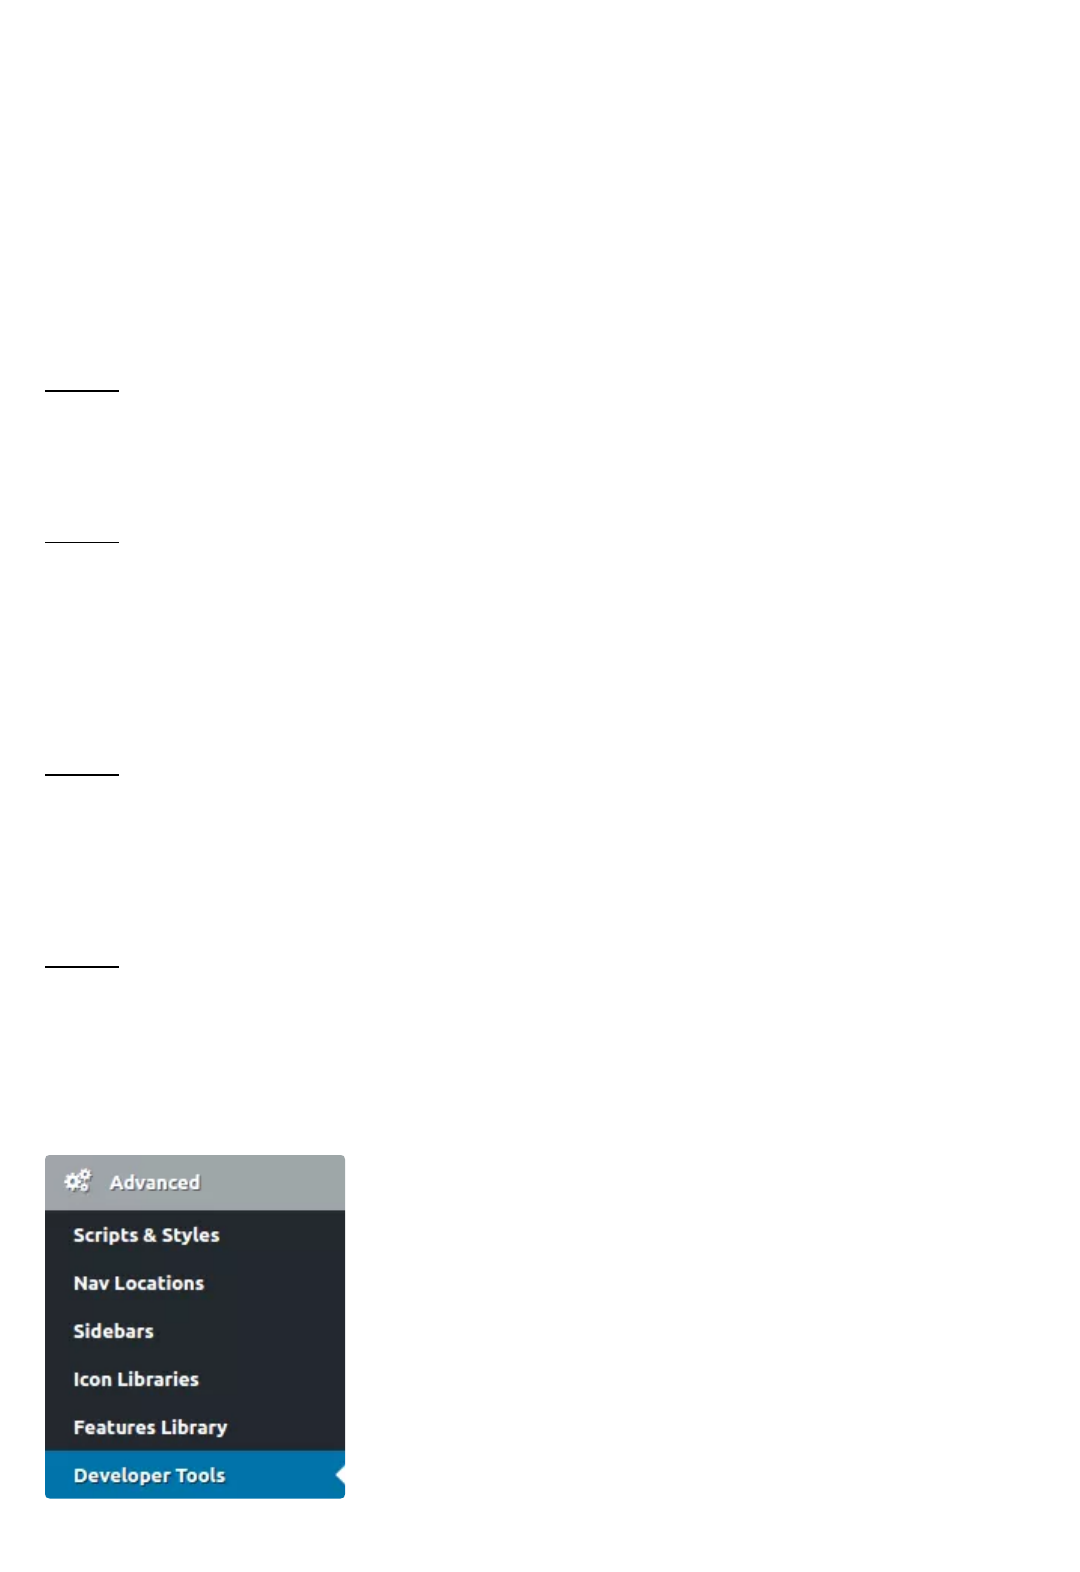
Advanced
In this section we have included Options that will help you customize the theme
even further. You can enter custom Scripts and Styles, manage Navigation
Locations, Sidebars, Icon Libraries, Feature Library and Developer
Tools,extending native WordPress usability to the maximum.
ADVANCED OPTIONS
SCRIPTS & STYLES

On this tab, you can insert custom code to enhance
functionality and styling options. There are three options
to customize for CSS, Javascript and utilize Google
Analytics.
Available Options
Custom Style Options (custom CSS)
In the eld, insert a valid Custom CSS code.
Custom Javascript Options
In the eld, insert a valid Custom JS (added on footer)
Google Analytics Options
In the eld, paste a validAnalytics tracking or same purposecode.
Next, choose a placement for Analytics tracking code, on Head orFooter
On this tab, you can manage Navigation Locations.
Additionally to the build-in WordPress menu
functionality, with this theme you can have additional
menu locations, allowing forhaving completely different
navigation in any page you need to.
Available Options
Navigation Locations. Insert a name for Nav Location
Description and a name for Nav Location Slug. For the
latter, insert only latin characters with dashes instead of
spaces. Note that you can’t use the same slug in more than onelocation.
You can also delete a current or Add a new navigation location
CUSTOM NAVIGATION LOCATIONS
On this tab, you can manage Sidebars. Additionally to the built-in WordPress
widget functionality, with this theme you can have additional sidebar locations,
allowing forhaving completely different widget areasin any page you need to.
Available Options
SIDEBARS

In every Sidebar are four elds where you can enter a
Title, a Description (optional), a Sidebar slug and a CSS
class (optional). In the Sidebar slug, use only original
names (do not use the same in more than one), or you
may have a confused sidebar structure. You can also
delete or Add a new Sidebar.
On this tab, you can manage
all your font icon resources.
The icons will be available on
every icon picker eld on
many features of the theme
like options and shortcodes.
Available Options
In every Icon Library Preset,
select if you want it enabled
or disabled. Then, set a Reference Title, a Reference ID and a Class Prex for
custom CSS reference.
In most cases, you can also add a PNG image instead of an icon,
so take a look at page builder options for a “Media Type” option.
ICON LIBRARIES
On this tab, you can enable or disable several features of
the theme. Use these options if you want a minimal
installation.
You should have in mind some facts if you are willing to
use these options:
If you disable a post type, the related post won’t be
deleted although they won’t appear on the site. If you
enable the post type, the posts will appear back.
PLETHORA FEATURES LIBRARY ACTIVATION /
DEACTIVATION
Disabling a third party custom post type, will not remove the post type itself rather
than removing any front-end display conguration.
If you disable a Shortcode, you should also remove the shortcodes from the posts
or pages manually.
In some cases, if you disable a feature, one other or even more will be affected too.
Available Options
Post Types Manager
Select if you want to enable or disable Room Post Type, Service Post Type, Slider
Post Type and Testimonial
Modules Manager
Select if you want to enable or disable Breadcrumb, Contact Form 7 Compatibility,
Demo Importer, The Events Calendar support, Footer Bar, Media Panel, Post
Navigation, Revolution Slider, System Info, Visual Composer and WooCommerce
Support module
Shortcodes Manager
Select if you want to enable or disable Post Loop, Call to Booking Form, Button,
Fixed Ratio Media, Heading Group, Hover Box, Instagram Feed, MailChimp and
Teaser Box shortcode
Widgets Manager
Select if you want to enable or disable About Us, Room Booking Request, Flickr
Feed Grid, Any Last Posts and Multibox.
On this tab, you can enable or disable some tools to help
the developer produce an un-minied Javascript and
CSS code (for troubleshooting) and understand faster
how options and template parts work on the theme by
enabling the detailed comments inside HTML. The
comments will output only to logged users with option
editing capabilities (administrators) for security
reasons.
Available Options
DEVELOPER TOOLS
Development Options
Select if you want to enable or disable the Development Mode. Turn this option off
after the launch of the website.
Select if you want the HTML Comments // Options to appear or not. Useful to
understand how options applied effect several components display.
If you activateDeveloper Mode, “DEV MODE ENABLED” will
appear under Theme Options > Advanced > Developer Tools, to
indicate the current state of the website.
Select if you want HTML Comments // Template Parts Files to appear or not.
Useful to help understand how the template system works.
Select if you want HTML Comments // Layout Checkpoints to appear or not. Useful
to easily separate the most important parts of the page in the HTML source view.
Help
On this tab, you can get critical information about your installation. There are no
options here, but the information can help diagnose compatibility and other issues
that may occur.
Available Information
System Information
Website Info, WordPress Installation, WordPress Plugins, Sever Setup, PHP
Conguration, PHP Extensions, Browser Info, Constants and Other Info &
Diagnostics
SYSTEM INFO
Options Object
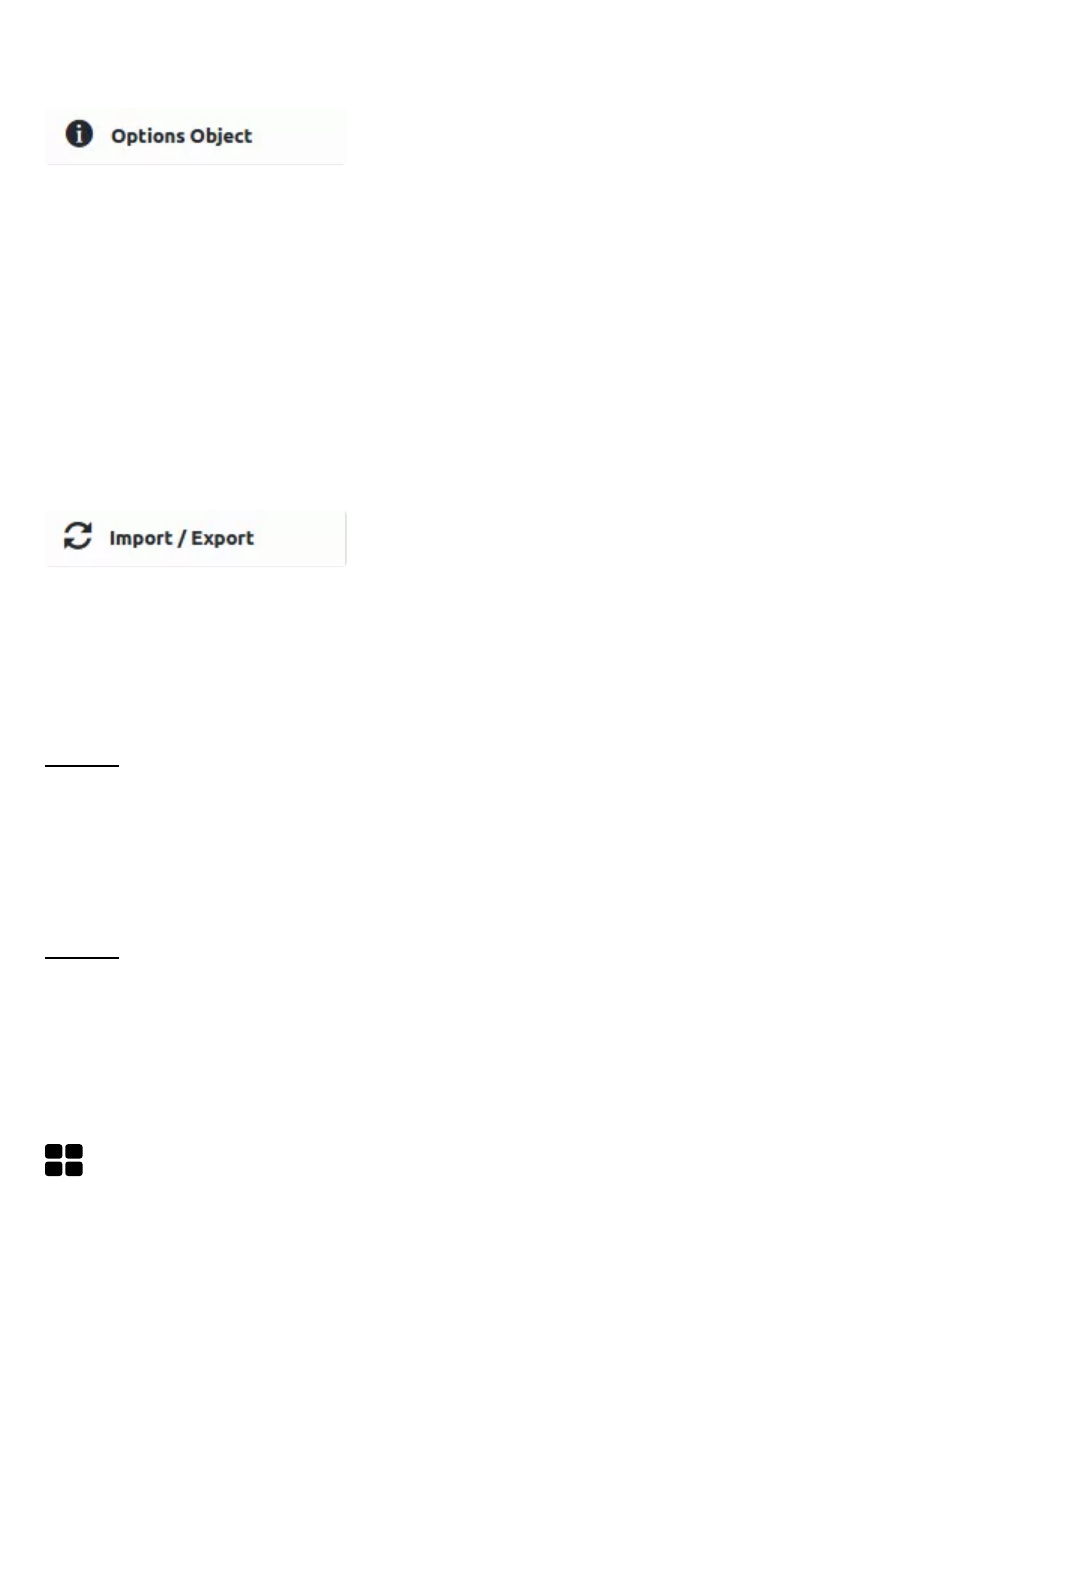
This tab is a simple tool for the developer. Click on the
button to Show Object in Javascript Console Object
OPTIONS OBJECT
Import / Export
On this tab, you can import and export options. Useful for
backup and restore.
Available Options
Import Options
Select a location (le or URL) and click on Import to get settings. This action
cannot be undone so continue only if you are sure that you want to overwrite
existing values.
Export Options
Select if you want to Copy Date, Download Data File or Export URL. In all cases, you
will get a copy of the current setting. Keep it as a backup or if you are planning to
import settings in another site with the same theme.
IMPORT / EXPORT
Functionality and Design
Now that you have read carefully the Theme Options, you can go deeper and
discover the most advanced functionality of the theme. WordPress has evolved
from a basic blogging platform to a massive content management system; the
themes have changed too. Hotel Xenia integrates some of the latest trends in web
marketing solutions. For best results, we have integrated theme options in each
FUNCTIONALITY AND DESIGN
page / post to allow per-view customization. You can use Global Options and then
override them when needed. We have also created original page views using Visual
Composer together with design elements made for the situation. In the following
articles we’ll give you details on how to use the functions and how to customize
the pages even further. In the demo(s) included with the theme you can see an
example of the aesthetics and exibility of Hotel Xenia.
There are two post types specially created for your Hotel
website. The Rooms and the Services. Both include several
options destined to demonstrate the amenities and the
pricing, allowing the end user to select the appropriate room
or service. These special post types also support Visual
Composer to let you design the page in an original way
(though you have to enable it after installation). To use the
Visual Composer Page Builder on the Rooms and Service
posts, go to Dashboard > Visual Composer > Role Manager,
and under Post Types select Custom; make sure the
room and service option are checked. Click on Save
Changes. Using some extra CSS classes, you can further customize the
appearance of Rooms and Services Posts.
The Rooms Post Type
With this post type, you can create a Room Post and display it in the website. In
each Room Post, there is a text area where you can describe the features of the
room. Under the text are you can nd Page Options. There are two Special Tabs
here; Amenities and Booking Info. Both provide signicant information to be
displayed in the front-end. The Amenities are displayed in a large bar under the
Featured Image, and the Booking Info spreads the data in several places inside the
post.
The Services Post Type
Similar to Rooms Post Types, this one lets you create a Service Post and display it
in your website. In the text area describe the features of the Service and in Page
Options customize the look and feel of the Page. The extra tab here is Booking
Info, and you can use it to display information to guide end-users into booking the
service.
CUSTOM POST TYPES
…and what about Testimonials?
There is one more post type, with specicfunctionality titled “Testimonials”. Use
this to display messages from clients of your hotel. People who have visited the
hotel and had a great time can share their experience, and you can use it on the
website with this post type. There are two available elds here to Insert Author
Name and Role. Design handles the rest.
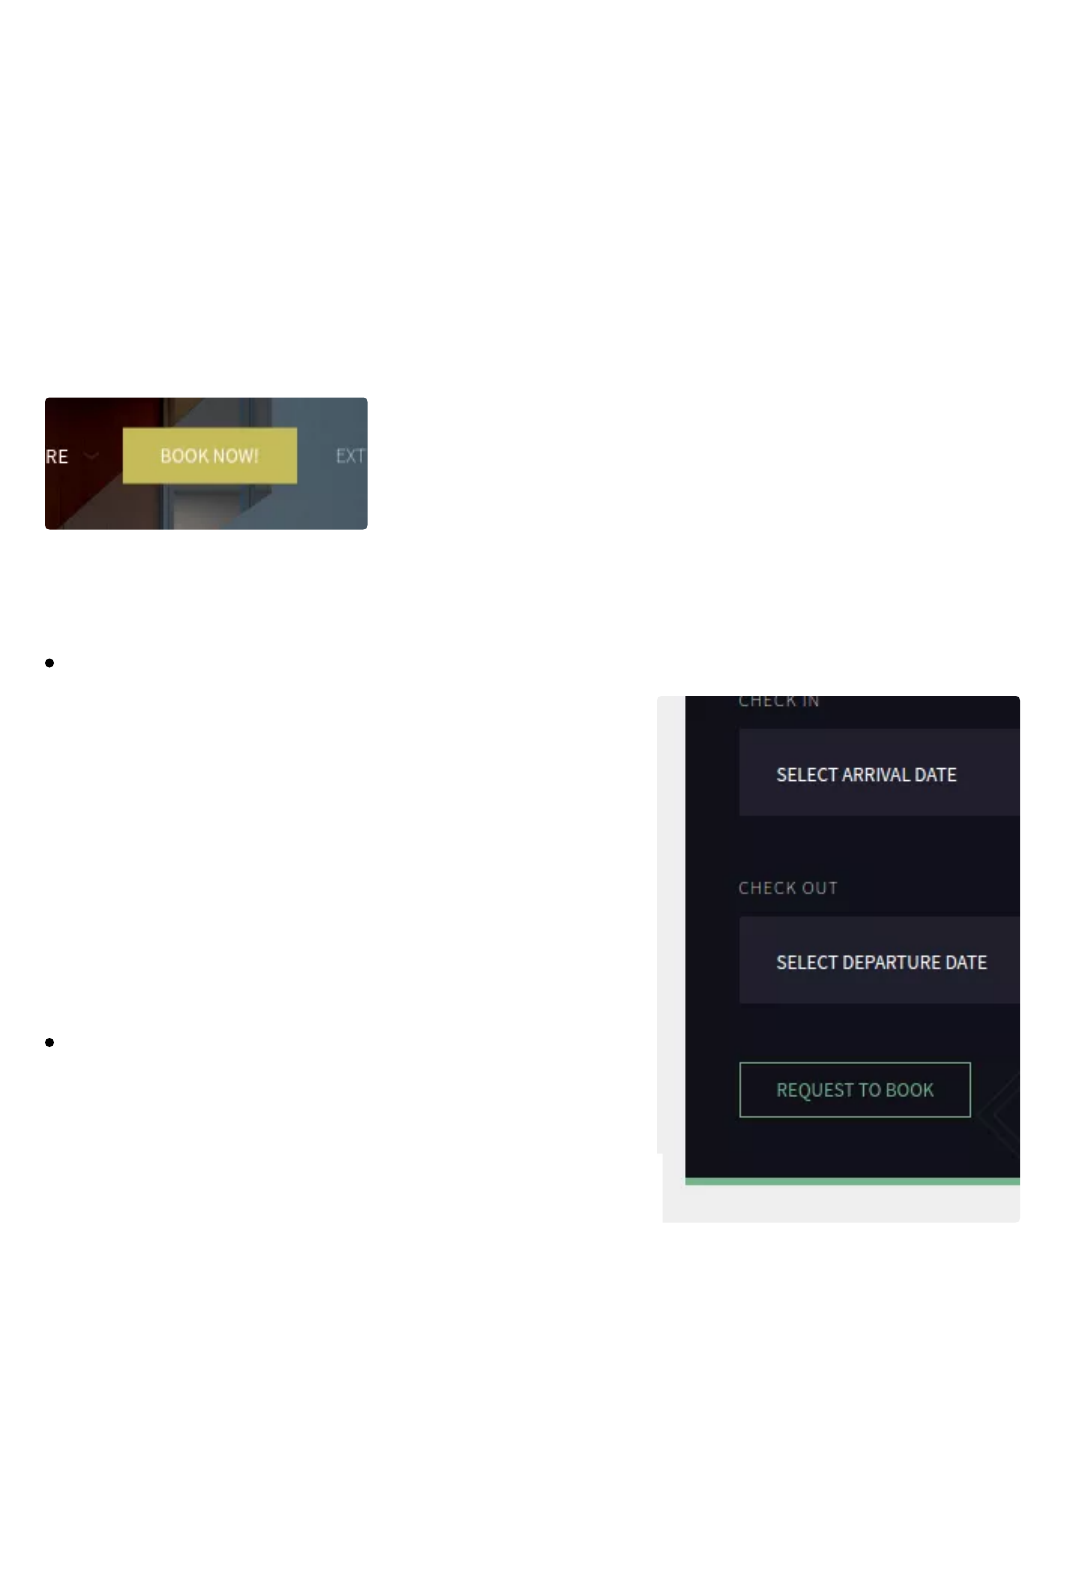
Booking from Widget
This is one of the most requested features. Based on
the advanced functionality of the most popular
WordPress contact form, Hotel Xenia Booking Form
has been tuned to provide a variety of elds to meet
every modern hotel needs. The Booking Request can become available to the
front-end user via three paths:
Directly, using the CF7 Booking Request Form (included in the
demo). Administrators have the possibility to
create all elds necessary for a booking
request form, using the CF7 plugin form editor.
To make things easier, we have created 2
custom CF elds that allow you to create a
select eld with room posts OR room
categories ( those elds can work with other
post types too ).
Partially, using the Call To Booking Shortcode.
The shortcode acts like the rst step of the
booking request form, where visitors are asked
to provide some basic information. When the
visitor clicks on the submit button, he is
transferred to the CF7 Booking Request form to
nish the process with the remaining elds.
What is crucial here, is to pay attention to the eld names that have to be
identical with their CF7 Booking Request Form counterparts. Otherwise, the
values given on the rst step will not be transferred to the nal form. In example,
if the Check in date eld on the the CF7 Booking Request Form is named
arrival_date, then this must be the value of the Arrival Date Field Name on the
shortcode conguration.
BOOKING REQUEST
Partially, using the Room Booking Request widget.This widget acts the same
way as the Call To Booking shortcode, except that it is designed mostly for use
on the single room post sidebar. Again, pay attention and ensure that all of the
widget’s eld names correspond to the Booking Form’s eld names. For more
info check out Conguring Room Booking Request Widget
(https://plethorathemes.com/kb/conguring-room-booking-request-widget/).
Note, Booking Request functionality is not intended to and does
not replace a complete booking system. If you need a complete
booking management system we recommend install Pinpoint
Booking System plugin. More information can be found
here: https://pinpoint.world/wordpress/
(https://pinpoint.world/wordpress/)
Where is the Booking Form?
You can nd the Booking Form on Dashboard > Contact > Booking Form
Carefully check the elds and keep notes of the attributes. In any
other place a Booking function is applied will use the given
attributes. Also check the Mail addresses. You should place a
valid email address to receive Booking Requests. By default, the
Requests are sent to Plethora Themes; change it as soon as you
have understood the way it works. The plugin doesn’t keep any
mails so make sure you have it tuned before you make it available
to the end-users.
Given the fact, the services of a hotel need a similar demonstration on a website,
we have included a sidebar menu in the theme. You can use this menu to induct
more items for more navigation options. In this way, we provide the end-user with
more options, without the need to leave the page. And, while navigating to another
page, the sidebar menu remains available to help visit even more pages of the
website.
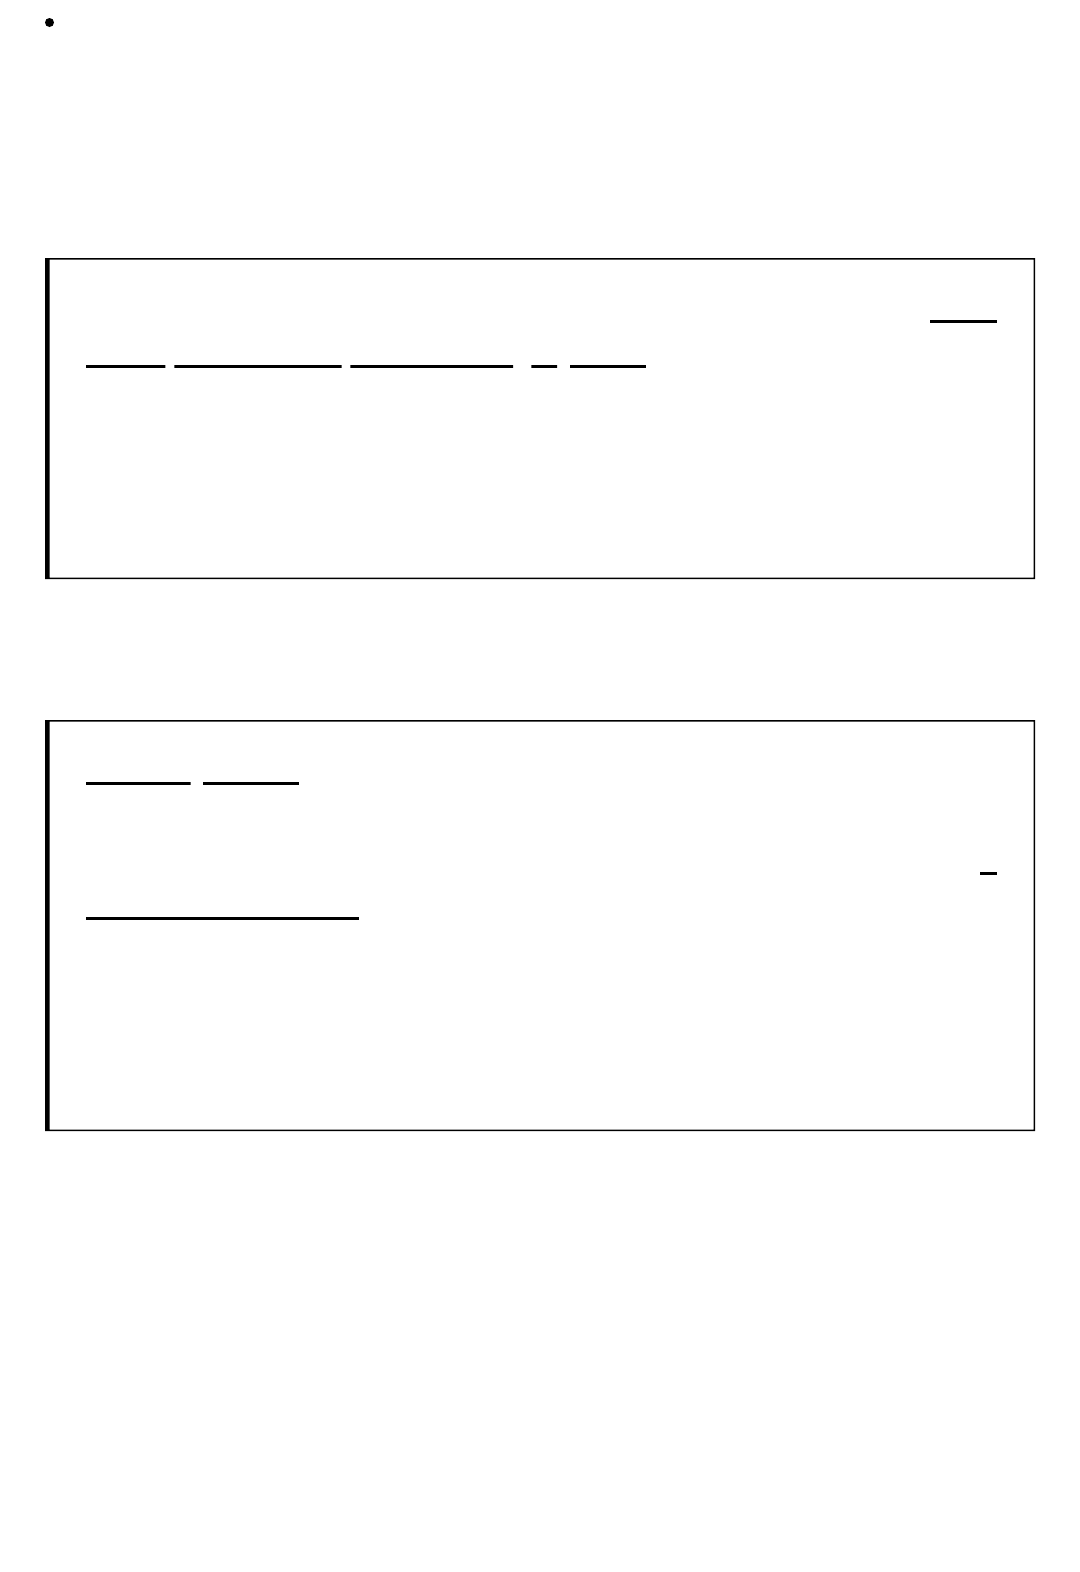
SIDEBAR MENU
The Sidebar Menu (a.k.a Mobile Nav. Sidebar) will
inherit items from a menu.Three steps are required to
create a Sidebar Menu:
Go to Dashboard > Appearance > Menus and create
a new menu. Do not assign this menu anywhere.
Go to Dashboard > Appearance > Widgets. Locate
the Mobile View Sidebar and add a Custom Menu on
it. Expand the Custom Menu and from the drop-down
list select the menu you created before.
Go to Dashboard > Theme Options > Header >
Mobile Nav Sidebar. Locate the Widgets Area and
from the drop-down list select Mobile View Sidebar.
As you realize, the specic sidebar can host more than
menus, although you’re advised to check the result as some widgets may not be
stylized according to the general design and won’t t 100%.
Everyone who has used Visual Composer is amazed by its exibility. To provide
more options, we’ve added our own elements, feel free to use them in any page
you need to demonstrate rooms, services, teaser boxes etc.
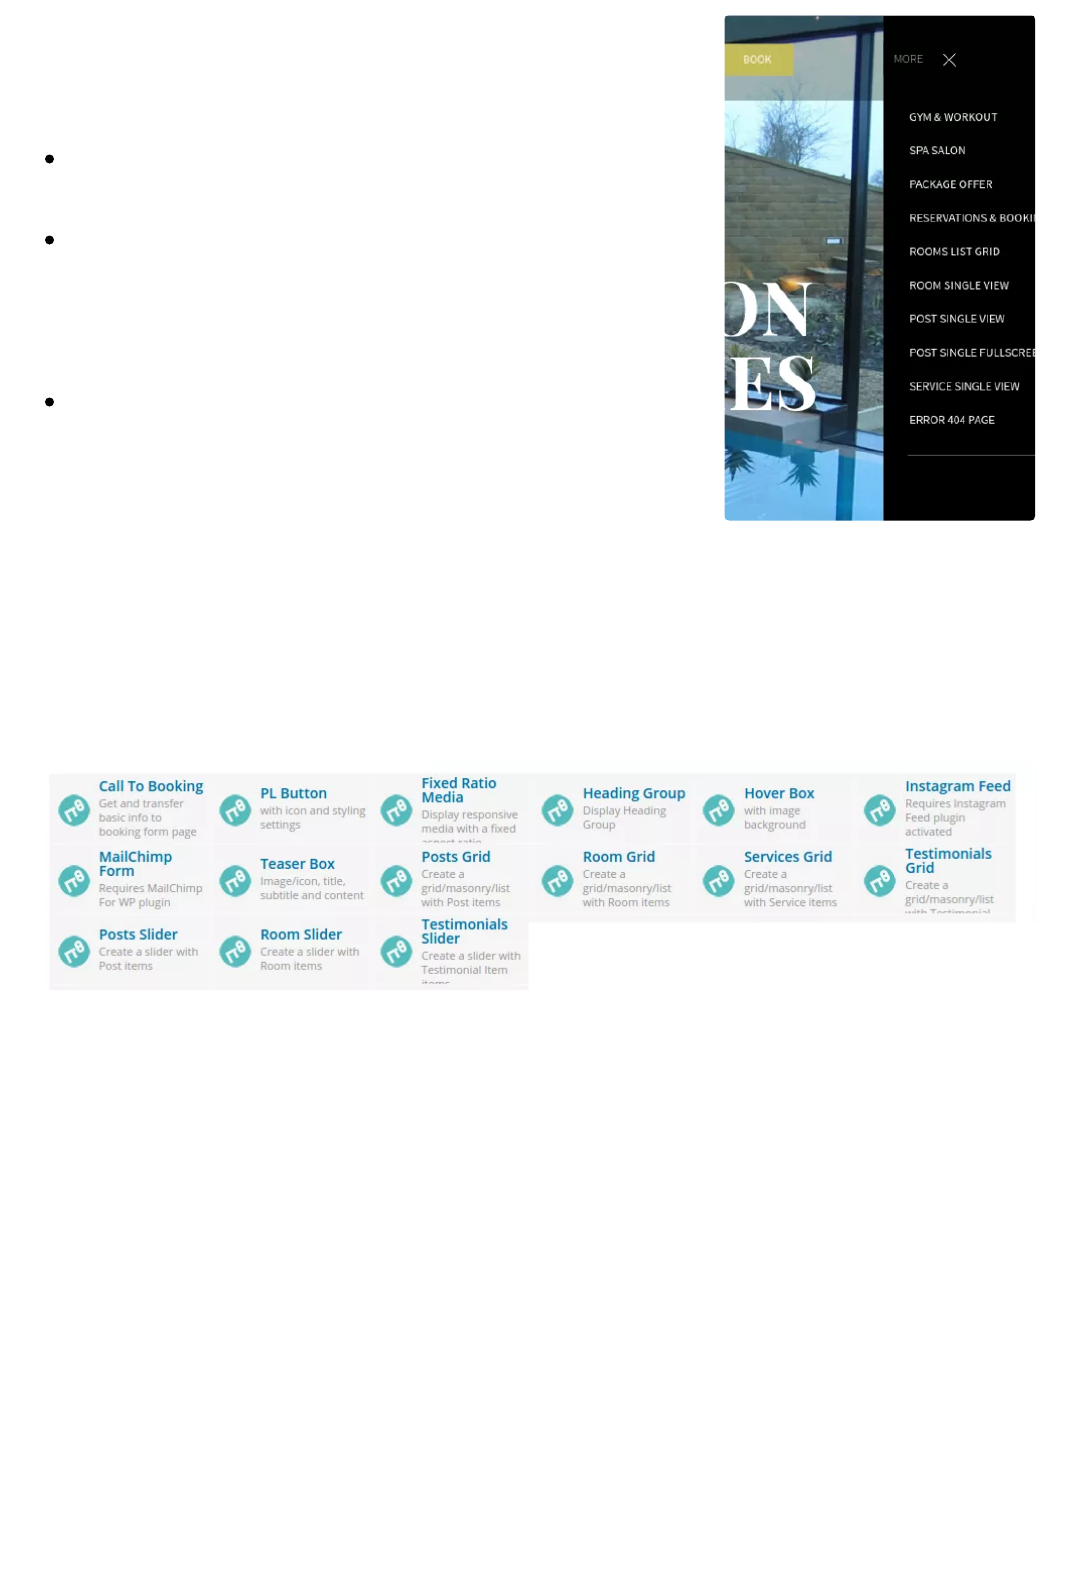
Call to Bookings
Use this element to create a visual attractive area in the page for the end-users
who may need to book a room. To make this element work you need to dene the
exact URL location of the bookings form and enter the appropriate attributes,
otherwise the booking will not work. Using carefully selected values on Size
options you can achieve a well balanced design.
PL Button
A generic button for any need, with rich options for content and styling.
Fixed Ratio Media
USING SHORTCODES

You can use this element to insert images in any page and display it using the
most popular size formats in the web.
Heading Group
An element for inserting Titles. It will display any heading title according to the
design. You can also display a subtitle and a Heading Background Title.
Hover Box
Use this element to insert an image with hover effect. You may also place a logo
over it and link to a page.
Instagram Feed
An element to display content from your favorite photo network. A variety of
display options is available here.
MailChimp Form
Got a MailChimp account? Integrate your Page Newsletter Form in any page you
need to.
Teaser Box
A exible element with several options will help you get the attention you deserve.
Posts grid
An element for displaying your posts. Show all posts or select the ones you need,
choosegrid template with or without a category lter.
Room Grids
With this element you can display all rooms or selected ones in a very convenient
form. Two grid templates, horizontal and vertical is available.
Services Grid
In the same way, use this element to display services.
Testimonials Grid
Got satised customers? Use this element to demonstrate them in the best way.
One horizontal grid template is available.
Posts Slider
This element provides a basic slider functionality for your posts
Room Slider
Create a slider of your rooms and display it in any page.
Testimonials Slider
Display customers experience in a comfortable way in any page.
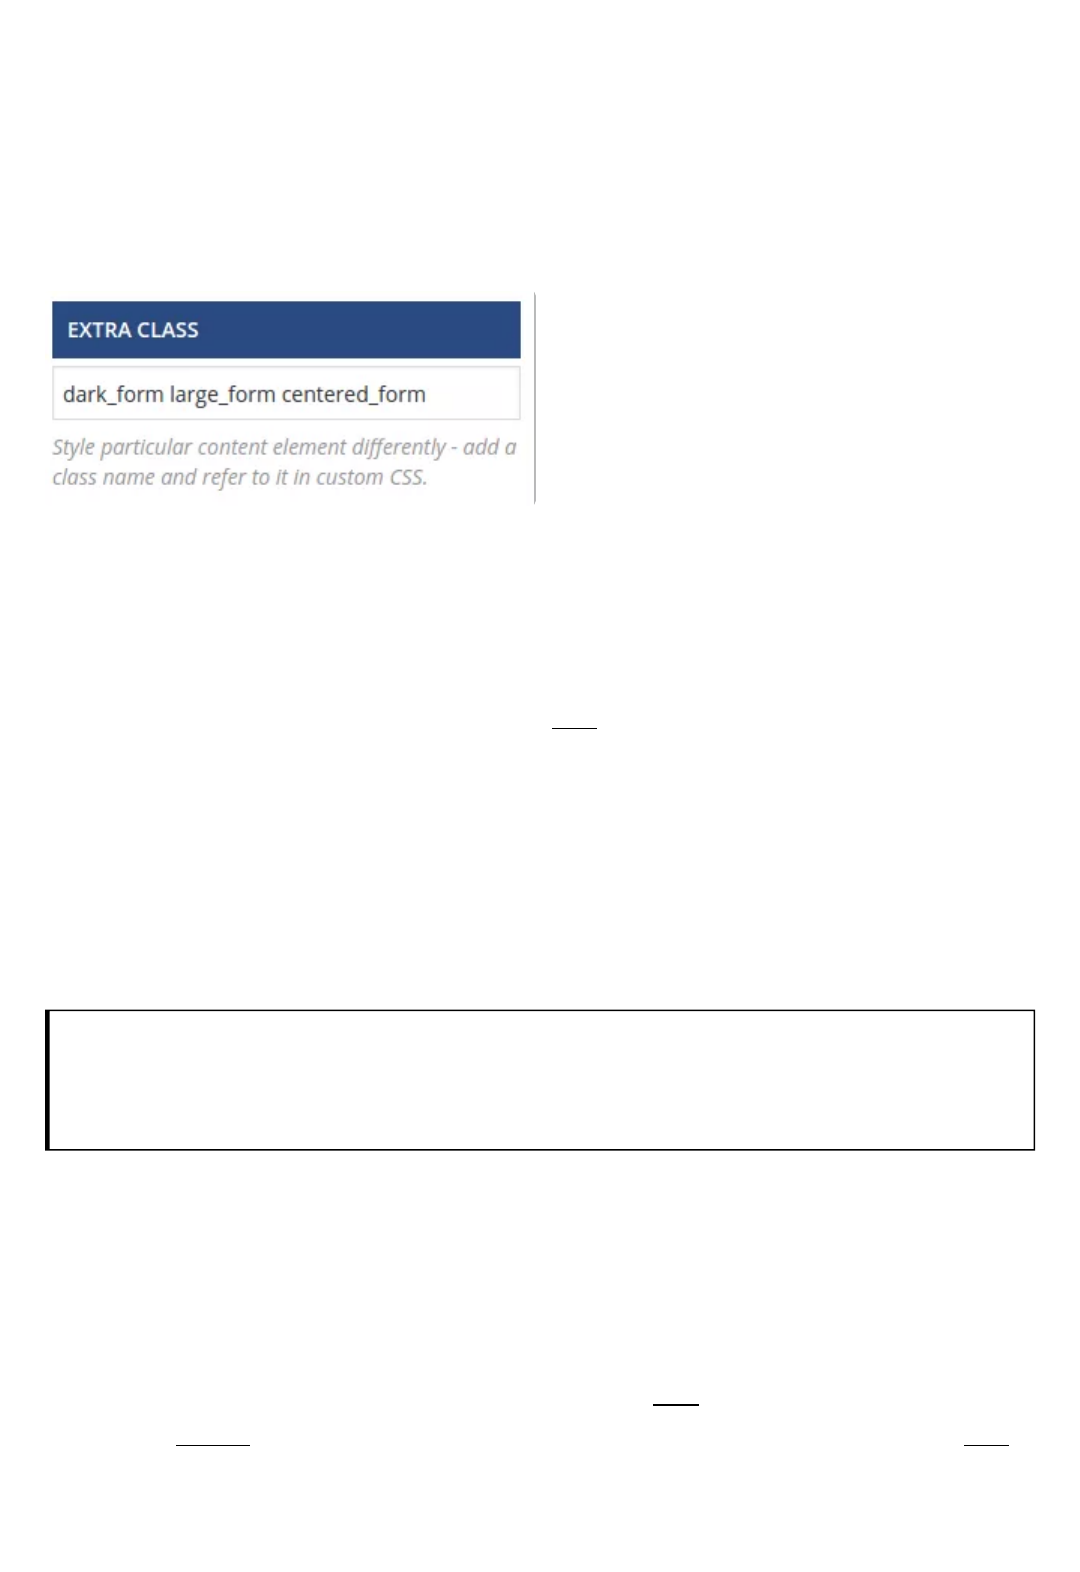
An example of the Extra Class eld
As you already know, the web is
consistent with several languages and
protocols. CSS areof the most popular,
and if you know how to use them, you
can create or modify the theme to
make it look the way you need. In the
theme, we have introduced some new
classes for style reference. Use them to ne tune your website. The classes can be
utilized in different places, including native WordPress articles and posts; they
integrate best with Visual Composer elements.
To use an Extra Class in Visual Composer, edit any article/post and locate an
element. Click Edit (the pencil icon). Usually, under General tab, you can nd the
Extra Class eld. Insert the class there and Save changes.
There are numerous classes available for customizing, text, images and other
objects inside a webpage. We’ll provide you with some examples, to begin with. To
make use,you only need to know the classes and their effects. Most of the times,
they can be applied in the text as well as in images and other objects.
an Extra Classapplied in an element effects only the particular
element in the specic page.
Example: [uppercase]
Actual script: text-transform: uppercase !important;
This extra class can be used for Text Transformation. There are times you need to
display text with uppercase. Supposing you need to capitalize all letters in the
introductory text in Hotel Xenia Demo Home Page. Edit the page and on Visual
Composer locate the “PROVIDING QUALITY SERVICES SINCE ’98” text block. Edit
the block and on General Tab locate the Extra Class eld. Insert “uppercase”
HELPER CLASSES

without the quotation marks and Save Changes. Update page. At this point, if you
check the Home page, the introductory text will be capitalized. Remove the class to
change back to the previous state. That’s how it works.
Example: [item_centered]
Actual script:margin-left: auto !important; margin-right: auto !important;
This is an interesting caseof a class applied both in text and images. You may
need to center an element in the page. Typically, titles are centered to gain
attention of the visitor and declare a message. Let’s suppose we need to add a
booking form on the bottom of the Home Page of the basic Demo. Visit the
Dashboard and edit the Home Page. Go to Visual Composer and add a new Row.
On the Row, add a new Contact Form 7 Element.Edit the Element and from the
Select Contact Form drop-down list select Booking Form. Save changes and
Update page. At this point if you visit the page you will see the Booking Form in the
left side of the bottom. To center the form using the extra class, edit the page and
go back to the Row you’ve placed the form. Edit the Row settings and locate the
Extra Class Name eld. insert “item_centered” without the quotations there and
Save changes. Visit the page and you can see the Booking Form in the middle of
the row. At this point, you must have an idea on how to take advantage of
thehelper classes.
